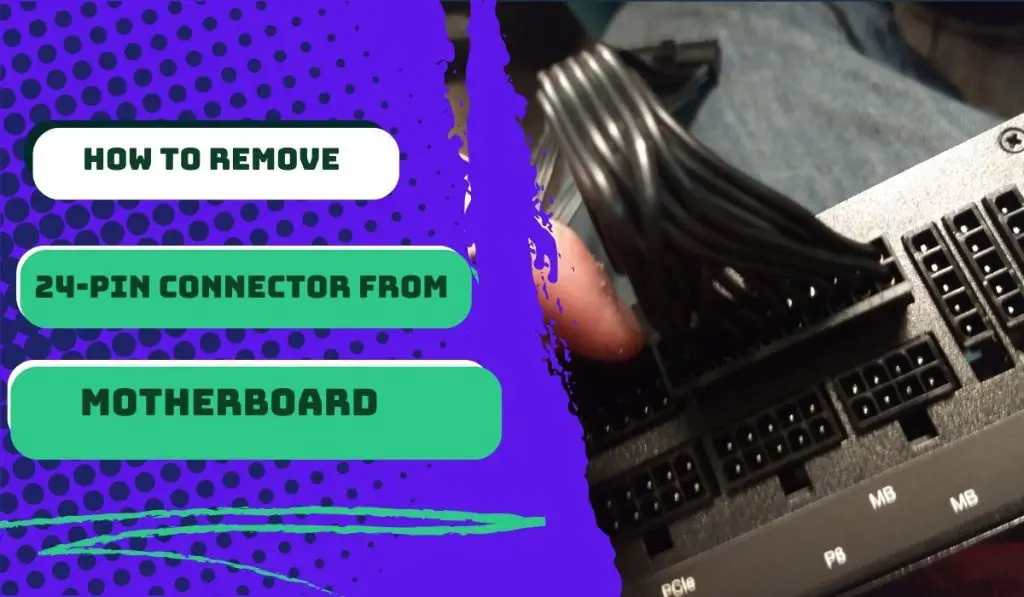
The 24-pin connector is usually positioned near the edge and labeled “ATX” or “Power” on your motherboard. To remove it, firmly grasp the connector with one hand and gently wiggle it back and forth while applying even pressure. This helps loosen the connection and makes it easier to remove. Slowly pull the connector straight out, making sure you do not bend any of the pins.
If you’re trying to transfer your PC to a new case, you must remove the 24-pin connector. This component supplies power to the motherboard, so it’s delicate. Many PC owners struggle to unplug the 24-pin power connector, mainly because of the fear of damaging it. If you’re encountering such a challenge, you’re not alone.
All you need to do is apply the correct pressure in the right direction with patience. The struggle will become a thing of the past.
How to Remove the 24-Pin Connector: A Step-by-Step Guide
You’ve tried all you can to remove the pin before jumping on this article. But before you do anything further, ensure you have a screwdriver and an anti-static wrist strap. You will need them along the way.
Step 1: Shut down and unplug your computer.
Before you begin, ensure your computer is shut down entirely and unplugged from the power source to avoid any electrical shock or damage to your hardware.
Step 2: Ground yourself.
To prevent any static electricity from damaging your components, ground yourself by wearing an anti-static wrist strap or touching a grounded metal object.
Step 3: Locate the 24-pin connector.
The 24-pin connector is usually located on the left-hand side of the board, near the CPU socket. It’s one of the most extensive connectors on the board. Take a moment to familiarize yourself with its shape and position, because you’ll need to recall this when fixing the pin. cc
Step 4: Identify the retention clip.
The 24-pin connector has a retention clip that secures it in place. Look for a little plastic tab or lever on one side of the connector. You need to release this clip before you can remove the connector.
Step 5: Release the retention clip.
Gently press down on the retention clip with your thumb or finger while using your other hand to hold the base of the connector firmly.
Apply even pressure to release the clip. Be careful not to use excessive force, as it may break the pin or damage the motherboard.
Step 6: Wiggle and pull
Once the retention clip is released, you can start removing the connector. Hold the base of the connector firmly and gently wiggle it from side to side while applying steady upward pressure. This helps loosen the connector from the motherboard.
If it still doesn’t budge, use a screwdriver (preferably the Philips head) to access underneath the release clip. This will give you extra clearance while you try to unplug it.
Alternatively, you can squeeze the release clip using nose pliers instead of fingers.
Step 7: Remove the connector
With the connector loosened, continue pulling it straight up. Don’t bend or twist the pins as you remove the connector from the motherboard. Slowly and steadily pull until the connector is completely detached.
Step 8: Inspect the connector and motherboard.
After removing the connector, take a moment to inspect both the connector and the motherboard for any signs of damage or bent pins. If you notice any bent pins, use a pair of tweezers or a small, non-conductive tool to straighten them out carefully.
That’s it! You have successfully removed the 24-pin connector from your motherboard.
If you need to reconnect or replace it with a new one, simply align the connector with the corresponding socket on the motherboard and firmly push it down until it clicks into place.
Remember to secure the retention clip to ensure a stable connection, and then use the screwdriver to tighten the screws that hold the connector.
Still won’t remove?
If you got stuck in any of the steps in the above section, it would mean that you could still not remove the 24-pin connector successfully. In other words, you’re most likely not doing something right.
Remember that there’s a little lock pin in the center of one of the long edges. You need to press this pin to release the plug.
Also, if you’ve tried wiggling and pulling and there’s no result, ensure you’re doing it correctly. Wiggle the connector horizontally (across the length of the connector), not vertically (along the size).
Many PC owners I have helped out with this problem at my repair store realized that they were wiggling vertically, which did nothing but make the connector get stuck.
Finally…
Removing a 24-pin connector may be a frustrating experience, but it becomes smoother when you do it with care and attention.
As you attempt to take this component hand, remember that you need the synergy of both hands. While your forefinger is placed along the back of the connector, your thumb is pressing the top of the release clip.
With your other hand, grip the short outer edges of the connector and use both hands in unison to rock the connector gently out of the socket on the board.
The bottom line is that, contrary to what you probably think, removing the 24-pin connector requires gentleness. If you have to apply too much force, you’re doing something wrong.
The whole idea is to encourage the pin to cooperate, not to damage it.
I hope you found this article helpful; then let me know in the comments.


![How to Add More SATA Ports to Motherboard? [Guide] 5 How to Add More SATA Ports to Motherboard](https://bestofmotherboard.com/wp-content/uploads/2022/02/How-to-Add-More-SATA-Ports-to-Motherboard.jpg)
![How To Install Motherboard Drivers With USB? [Guide] 6 How To Install Motherboard Drivers With USB](https://bestofmotherboard.com/wp-content/uploads/2022/02/How-To-Install-Motherboard-Drivers-With-USB.jpg)
