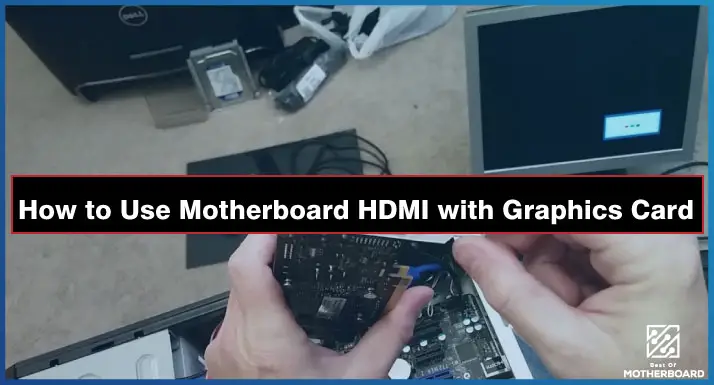
Looking for how to use motherboard HDMI with graphics card? We have you covered in this article. Normally, when you have a graphics card installed on your PC, the HDMI port will automatically be disabled on your motherboard.
This can pose a real problem for anyone who desires multiple monitors but have not enough HDMI ports on the graphics card. If you want to use multiple displays, HDMI port is crucial. But the question is how to use motherboard HDMI with graphics card?Thankfully, you can use motherboard HDMIwith graphics card via BIOS.
How to Use Motherboard HDMI with Graphics Card
Lets discuss the topic in detail.
Why Enable Motherboard HDMI
There are lots of times when you might want to plug in an extra monitor, but your graphics card may not have enough ports to cope. Or, if some of the ports on your graphics card are broken, enabling the HDMI port on your motherboard via BIOS can be an effective solution.
That is because there is a lot more spare capacity for ports on the motherboard than there is on the graphics card – just make sure your CPU has integrated graphics before you start making changes in the BIOS.
The graphics card has the potential to connect more than one display to your system and hence can be used to make your gaming session even more fulfilling.
However, with more displays and projectors, there could be a requirement of several extra ports. For most gamers, this issue is overcome with an expensive expansion card. But for others, who want multiple displays without buying an expensive card, the onboard HDMI can be life saver.
If you have been looking for a way to add extra displays to your system without any hassle, then Motherboard HDMI is the perfect solution.
How to Use Motherboard HDMI with Graphics Card (Step-By-Step Guide)
In the following steps we will discuss that how to use motherboard HDMI without graphics card.
Step 1: Check Your CPU If It Has Integrated Graphics Card
So, before you even start learning to use the motherboard HDMI port, you must ensure that it is actually a CPU with an integrated graphics card you got. You see, motherboards do not have integrated video processing chips.
So, all the video ports that are located on the back of your motherboard’s I/O panel are powered by the CPU’s integrated graphics card.
You need to check if your CPU has an integrated graphics card because it is only the CPUs with integrated graphics cards that will have ports on the motherboard that can be used to output video.
If you look closely at the back of your motherboard’s I/O panel, you will see the different video outputs available.
To check if your CPU features integrated graphics, check the official spec sheet or check via the Operating System.
Unfortunately, some CPU models have no iGPU and you should be aware of it. Now, let us discuss the AMD and Intel CPU models you must be aware of:
Beware Of Intel CPUs & Intel Integrated Graphics Cards With Suffix “F”
Thankfully, having an Intel CPU means you have high chances of it featuring an integrated graphics card. Mind you, most Intel CPUs feature an iGPU.
However, you should be aware of Intel model with suffix “F” in the model’s name such as Intel Core i5 11400F, Intel Core i7-11700F, etc. These CPUs do not feature and iGPU and therefore will not power the HDMI port and other video output port on your motherboard.
Only AMD CPUs And VEGA Series iGPU With Suffix “G” Feature iGPU
You know most of the Intel CPU feature iGPU, but the opposite is the case with AMD.Only AMD CPUs with suffix “G” feature an integrated graphics card. For instance, AMD Ryzen 5 5600G features iGPU and therefore have the capacity to power the motherboard HDMI ports.
Note, AMD CPUs with suffix “G” provide you with powerful Vega series graphics card which is found on 5000 series AMD Ryzen.
Step 2: Enable Integrated Graphics Via BIOS
Once you confirm that your CPU supports integrated graphics, try the following steps to use HDMI with graphics card on your motherboard:
- Save your works and reboot your PC
- Bring up the BIOS menu. The combination keys to do this can be different from PC to PC. Commonly, the keys are Delete, Escape, F1, F2, F8 and F12. If you are not sure of the keys to press, check your motherboard’s manual.
- While plying around with the BIOS setting, be cautious because you don’t want to change critical settings that will affect other things on your system.
- Go to the Advanced Setting and look for settings with iGPU, multiple displays.
- If the setting is already disabled, enable it and it will turn on the motherboard HDMI.
- Save changes and confirm by pressing Enter.
- Reboot the computer
Step 3: Connect Your Monitor / Display Devices
- Plug the primary monitor to your HDMI Port on the back of your video card.
- Then plug the secondary monitor to the motherboard HDMI Port.
- Plug the other end of your HDMI cables into Respective Monitors.
- Play around with the Respective Display Settings. Right-click on Desktop and click on Display Settings.
- You can also play with Various Settings related to monitors.
Related: Does My Motherboard Support NVMe SSD
Step 4: Install The Latest Integrated Graphics Driver
If you cannot detect secondary monitor, try to upgrade the integrated graphics driver.
- Load up your Device Manager under Other devices and search for Unidentified Device.
- Then install the latest driver downloaded from the CPU manufacturer’s website or just allow your Windows to search for the right driver automatically.
- Reboot your PC and the computer should detect the secondary monitor.
Frequently Asked Questions (FAQs)
My CPU Has An iGPU But Can’t Use Motherboard HDMI – Why?
Two things could cause this. It is either your BIOS does not feature the option to enable motherboard HDMI or your computer is missing the driver for integrated graphics card.
Is It Safe To Use Motherboard HDMI?
Yes, it is safe if your system allows integrated graphics.
Can I use Three Displays Using This Method?
You could use 3 displays if the GPU connected to the PCIe slat features 2 HDMI ports.
Conclusion
In conclusion, the process of using a motherboard’s HDMI port with a graphics card is not too complex, even though it might seem like a lot to digest at first. You simply need to set your BIOS settings correctly and then plug your display into the motherboard.
Most people turn on the motherboard HDMI option when they are looking to run multiple displays but has a shortage of ports in their GPU. If you are looking for how to use motherboard HDMI with graphics card, the above guide will help.


![How to Add More SATA Ports to Motherboard? [Guide] 4 How to Add More SATA Ports to Motherboard](https://bestofmotherboard.com/wp-content/uploads/2022/02/How-to-Add-More-SATA-Ports-to-Motherboard.jpg)
![How To Install Motherboard Drivers With USB? [Guide] 5 How To Install Motherboard Drivers With USB](https://bestofmotherboard.com/wp-content/uploads/2022/02/How-To-Install-Motherboard-Drivers-With-USB.jpg)
![How To Install Motherboard Drivers Without CD? [Guide] 6 How To Install Motherboard Drivers Without CD](https://bestofmotherboard.com/wp-content/uploads/2022/02/How-To-Install-Motherboard-Drivers-Without-CD.jpg)