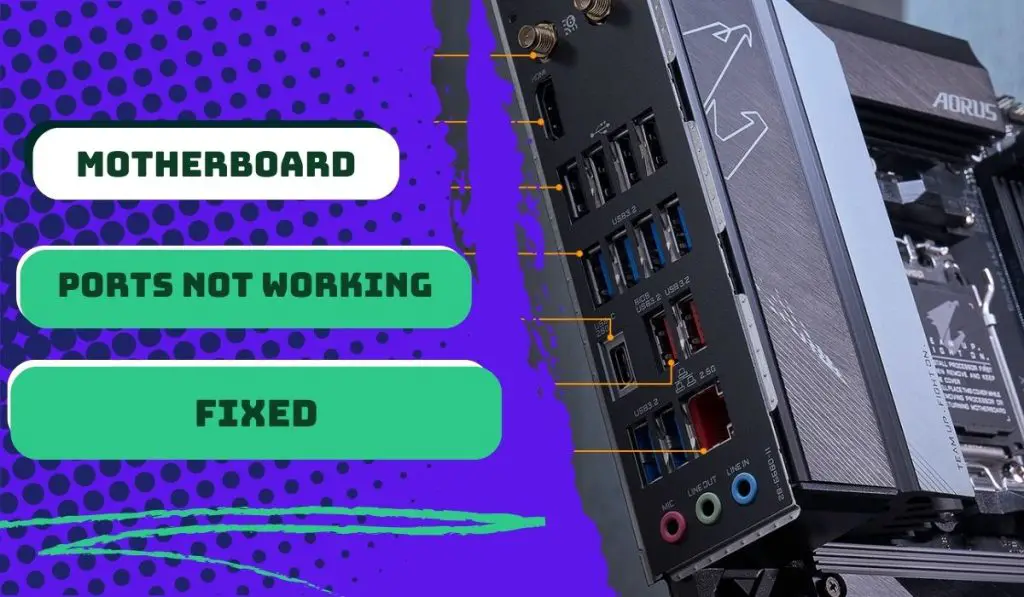
The most common causes of non-working motherboard ports include loose connections, faulty cables, outdated drivers, BIOS settings, or physical damage. To fix the issue, consider reseating cables, updating drivers, resetting the BIOS, or replacing damaged parts. In extreme cases, you must consult the motherboard manual or seek professional help.
When motherboard ports stop working, it can bring frustration and desperation. I remember working with an MSI Z97 Gaming 7 (with a Corsair RM1000W) and removing the GPU for RMA. Everything worked fine after the GPU returned from repair, except for the display, mouse, and keyboard. I eventually fixed the problem by changing the input socket on the CPU.
After encountering that problematic motherboard port situation, I successfully troubleshooted dozens of related faults. However, different cases will require other solutions.
Launching the operating system or accessing the BIOS will be challenging if your computer’s USB ports stop functioning.
In this article, I have compiled a list of possible culprits behind the issue of USB ports not working on the motherboard and how to fix them on your own (regardless of the build specs)—starting from the easy-to-detect ones down to the complex fixes.
1. The USB ports are dusty.
Dirty USB ports can cause motherboard ports to stop working for various reasons. Dust, debris, and oxidation can accumulate in the USB port, leading to poor electrical contact and interference.
This can result in a weak or disrupted connection between the USB device and the motherboard, causing the port to malfunction.
The solution
First, power off the computer and unplug it from the power source. Gently inspect the USB port for any visible dirt or debris.
Use compressed air or a soft brush to clean the port, ensuring that no residue is left behind. If oxidation is present, use isopropyl alcohol and a cotton swab to clean the affected area.
The problem may indicate a deeper hardware or software issue if it persists.
2. Your power settings are hindering the USB ports’ function.
The USB Selective Suspend function may be active if you’re using Windows. This power setting can, unfortunately, cause some hiccups with your motherboard ports.
USB Selective Suspend is a neat feature that saves power by putting idle USB devices into sleep mode. However, when these settings are not correctly configured, it can lead to issues affecting your ports’ functionality.
When your USB Selective Suspend power settings are off-kilter, it may result in your motherboard ports not receiving enough power or being unable to wake up from suspend mode.
As a result, your ports might stop working altogether, and you may experience difficulties connecting and using USB devices.
The solution
The one-stop solution is to disable the USB selective suspend power setting.
Step 1: Open the Control Panel or go to the Settings menu on your computer.
Step 2: Look for the Power Options or Power & Sleep settings and click on them.
Step 3: Locate the USB Selective Suspend settings within the Power Options or Power & Sleep settings.
Step 4: Make sure the USB Selective Suspend feature is enabled. If it is already enabled, try disabling it temporarily and then re-enabling it.
Save the changes and exit the settings menu.
Step 5: Restart your computer to apply the new settings.
3. Your Windows is outdated and does not support particular USB device functionalities.
Outdated Windows and optional updates can cause motherboard ports to stop working due to compatibility issues and driver conflicts.
When the operating system is not up-to-date, it may lack the necessary drivers or software patches to operate the motherboard ports properly.
The solution
To fix this issue, follow these steps:
Step 1: Ensure that your computer is connected to the internet.
Step 2: Click the “Start” menu, search for “Windows Update,” and open it.
Step 3: Click “Check for updates” to scan for available updates.
Step 4: Install all the essential and optional updates, including driver updates.
Step 5: Restart your computer after the updates are installed.
Once the computer reboots, check if the motherboard ports are working correctly.
4. You installed the wrong driver update.
Installing the wrong driver updates can cause motherboard ports to stop working due to driver incompatibility.
There is always newer USB technology out there. When you install old or incorrect driver updates, they may not be designed to work with the specific hardware of your motherboard, leading to malfunctioning ports.
The solution
The first thing is to uninstall the wrong driver updates.
Right-click on the Start menu, select “Device Manager,” expand the relevant category (e.g., “Universal Serial Bus controllers” for USB ports), right-click on the device with the wrong driver, and choose “Uninstall device.”
Now, restart your computer and install the correct driver updates. To do this, open the properties of the USB port’s driver you want to update, navigate to “Driver,” and click“Update Driver.”
Restart your computer again. Once the computer reboots, check if the motherboard ports are functioning correctly.
5. USB controllers are not installed correctly.
Sometimes, the wrong installation of USB controllers can make motherboard ports act buggy or not work due to driver conflicts and incorrect configuration.
When USB controllers are not installed correctly, the operating system may not recognize or communicate with the ports, leading to their malfunction, such as disconnecting frequently.
The solution
Step 1: Identify the correct USB controller drivers for your motherboard model.
P.S.: You can find these drivers on the manufacturer’s website or on the driver installation disc with your motherboard.
Step 2: Uninstall the existing USB controller drivers. Right-click on the Start menu, select “Device Manager,” expand the “Universal Serial Bus controllers” category, right-click on each USB controller, and choose “Uninstall device.”
Step 3: Restart your computer.
Step 4: Install the correct USB controller drivers. Use the drivers obtained in Step 1 and follow the installation instructions provided by the manufacturer.
Step 5: Restart your computer again and check if the motherboard ports function correctly.
6. There’s a problem with the USB power source.
If the USB drive or wire is faulty, it can hinder the functioning of motherboard ports due to multiple potential factors or components that could be at fault.
For example, a damaged or defective USB drive may cause connectivity issues as the internal circuitry may be compromised.
Also, a faulty USB wire can disrupt the data transmission and power between the USB device and the motherboard port.
The connectors on either end of the USB wire may be damaged, bent, or loose, preventing a secure and stable connection. Issues like short circuits, broken wires, or frayed insulation within the wire can lead to intermittent or complete failure of the USB connection.
The solution
First, examine the USB drive for physical damage. If damaged, consider replacing it. But while you do that, inspect the USB wire for frayed insulation, broken wires, or loose connectors.
If there’s a loose connection, gently reseat the USB connectors on both ends. For frayed wires, carefully trim the affected portion and splice them back together. Replace the wire with a new USB cable if it is extensively damaged.
If your motherboard ports still don’t work after all these fixes, it can only mean your motherboard is failing.
7. The motherboard is faulty.
Since the motherboard powers all ports, it can only mean that the motherboard is failing if you tried every troubleshooting method and there were no dice.
It could be caused by a defective chipset, damaged or malfunctioning port controllers, faulty power delivery circuits, or improper solder connections.
These problems can disrupt the communication and power flow to the ports, leading to their failure.
Apart from that, issues like blown capacitors, damaged traces, or faulty integrated circuits can further contribute to the malfunctioning of the motherboard ports.
The solution
Unfortunately, a failing motherboard is often the kiss of death. However, before giving up, investigate the matter to be sure it’s not something as trivial as a small circuit or connection damage that could be repaired.
Ultimately, you’ll need to take your motherboard to a professional before giving up on it.
Can RAM cause USB ports to stop working?
No, RAM does not directly cause USB ports to stop working. The motherboard and its associated chipset control USB ports. However, faulty RAM can cause system instability, which may manifest in various issues, including USB port malfunctions.
For example, I once encountered a faulty RAM module that caused intermittent USB connectivity issues on an ASUS ROG Strix B450-F Gaming motherboard. The USB ports on the motherboard would sporadically fail to recognize connected devices or experience random disconnections.
After troubleshooting various components, such as cables and devices, I discovered the issue related to the system’s stability.
The USB ports resumed working normally after replacing the defective RAM module, demonstrating that the unstable RAM was the primary cause of the USB port issues.
So RAM may not directly cause the ports to stop working, but faulty RAM can cause system instability, manifesting in various issues, including USB port malfunctions.
How Do I Reset the USB Ports on My Motherboard?
Motherboard ports not working can be traced back to USB connectivity problems. If this is the case, clearing any existing configurations and settings will make the ports reinitialize properly and possibly get working again. To reset the USB ports on your motherboard, you can follow these steps:
Step 1: Shut down your computer entirely and disconnect the power cable.
Step 2: Wait a few minutes to ensure all power is drained from the system.
Step 3: Locate the USB headers on your motherboard. These are usually located near the edge and labeled as USBs.
Step 4: Carefully remove the cables connected to the USB headers. Make sure to note their positions for reconnection later.
Step 5: Hold the power button on your computer for about 10 seconds to discharge any remaining power.
Step 6: Reconnect the USB cables to the USB headers, ensuring they are securely attached.
Step 7: Reconnect the power cable and turn on your computer.
In summary
When ports on the motherboard stop working, doing anything on the device becomes a severe challenge. Peripheral devices will not function well, navigating the operating system will become a hassle, and accessing your BIOS can become nearly impossible.
Whenever you face this challenge, the solution often lies in detecting physical damage, disabled drivers, dirty USB ports, outdated windows or drivers, misplaced (or loose) I/O connectors, or even port heating issues.
But in rare cases, the problem would stem from a failing motherboard that requires professional help.
Over to you. Let me know in the comment section which of these troubleshooting tips helped you get your ports working again.


![MSI EZ Debug LED - How To Troubleshoot and Fix[Guide] 4 How to Troubleshoot MSI Debug LED](https://bestofmotherboard.com/wp-content/uploads/2022/02/How-to-Troubleshoot-MSI-Debug-LED.jpg)
![What is Game Boost MSI - [Detailed-Guide] 5 What is Game Boost MSI](https://bestofmotherboard.com/wp-content/uploads/2022/02/What-is-Game-Boost-MSI.jpg)
![[Fixed] MSI Motherboard White Light 6 MSI-Motherboard-White-Light](https://bestofmotherboard.com/wp-content/uploads/2022/10/Asus-Motherboard-White-Light.jpeg)