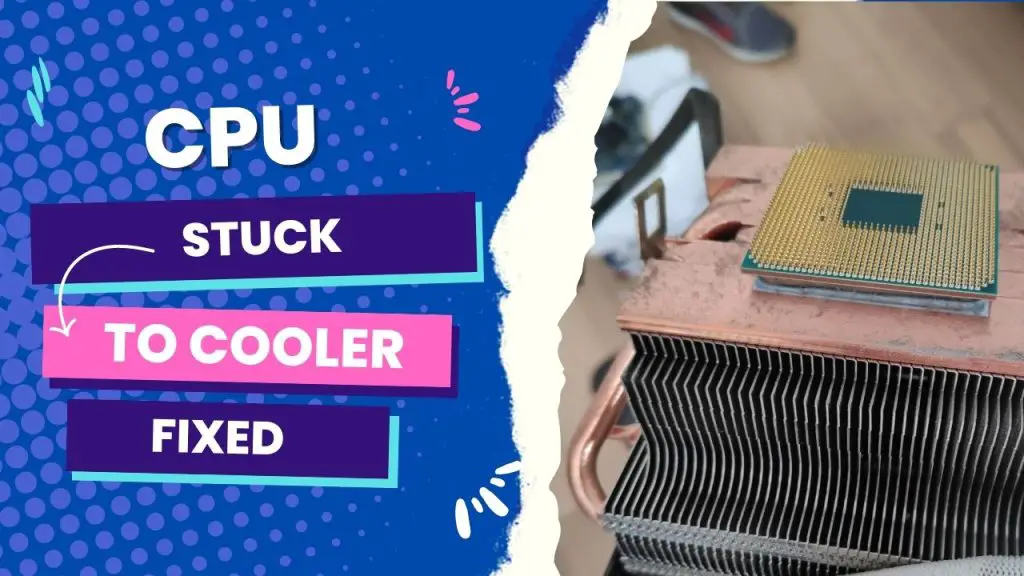
If your CPU is stuck to a cooler and cannot be removed easily, it is likely due to old thermal paste. To safely remove the CPU from the cooler, gently press on the sides to loosen it or use dental floss to cut through the thermal paste. Be careful, as the CPU is a delicate component. If more force is needed, additional methods may be necessary.
In the rest of this guide, you will learn five simple methods to detach a CPU stuck to a cooler. After removing it, we will also explore the best care tips for the hardware.
So, let’s get practical.
How to Remove a CPU That is Stuck to the Cooler [Video]
The first thing that should come to mind before attempting anything is to switch off the computer. That way, it will be easier to differentiate between the two components since the CPU and the heat sink will be warm or even hot.
Once that is out, you can consider using any of these four approaches to remove a processor stuck to the cooler.
1. By gently Moving the Sides
The most straightforward approach to removing a stuck CPU from a cooler is to use your hand, but not by giving it a straight, hard pull. If you use the latter, it can lead to CPU damage. There is a high chance that the CPU will be separated from the top cover (HIS), where the thermal paste is placed.
You don’t want any of these. So if you are confident in carefully using your hands, you can follow these steps:
Step 1: Gently grasp your fingers on the CPU.
Step 2: Move the sides slightly.
Step 3: Again, ensure you gently twist instead of pulling straight.
Step 4: You are almost there once you notice the CPU is moving.
Step 5: If it doesn’t move, don’t push it. Instead, try the other methods below.
2. Use A fishing line to take off the CPU cooler.
A fishing line is another excellent DIY method to remove the CPU stuck to the cooler. Oddly enough, it is easier than hand twisting. You can also use any solid but thin thread as an alternative. How does this work?
Step 1: First, plug the thread around the corner of the processor.
Step 2: Move the thread from one edge to another.
Step 3: Ensure the movement is in a slow slicing motion.
Step 4: Observe the result while at it. You will notice the CPU detaching gradually.
If you don’t have access to a fishing line (cut a piece from your neighbor’s fishing rod), consider the other methods below.
3. Use A hair dryer to take off the CPU cooler.
Another way to easily remove the CPU is using a hair dryer or a heat gun. Here’s how to do it:
Step 1: Direct the flow of hot air to the CPU.
Step 2: Ensure the hot air hits the space between the processor and a heat sink.
Step 3: Allow the air to flow for 30 to 60 seconds.
Step 4: By this time, the thermal paste must have softened.
Step 5: Try removing the CPU from a cooler. The process will be smooth.
4. Use isopropyl alcohol to take off the CPU cooler.
As mentioned earlier, it is not always expected for a cooler to stick to the CPUs, but when the thermal paste gets a bit stiff, one of the ways to remove the CPU is to use isopropyl alcohol. Here’s how:
Step 1: Look for isopropyl alcohol tape head cleaners and CD cleaners, or go to a tattoo or ear piercing parlor. You can also buy Servisol Super 40 in the store.
Step 2: Spray some isopropyl alcohol on the component. Make sure the spray hits the gap between the heatsink and the CPU.
Step 3: The solution will soften the stiffness of the thermal paste and allow you to detach the CPU efficiently.
Before using this method, ensure you’ve removed the clips or screws holding it in place and then have tried gently pulling on it.
When you think of the other compounds that alcohol may be soluble in, you may want to consider other options to avoid such a risk. As detailed in the next section, you can use specific tools that require extreme care.
5. Use a screwdriver or knife blade to remove the CPU cooler.
Using sharp objects when handling fragile computer components like the CPU is generally unsafe. However, if you have to do it and it’s an AMD, and the CPU comes up with the fan, open the socket, and you can use a small flat screwdriver or knife blade to get the heatsink off.
Now, you must be careful about not cutting yourself and not applying too much pressure on the tools so you don’t break them. The key is to go slow and gentle.
It would help if you were extra careful about not bending or warping the pins. If they start coming out, allow them to leave the socket.
6. Use Dental Floss to Take Off the CPU Cooler
You might consider leaving the cooler attached and performing a clean swap to put the CPU on a new motherboard.
However, this is impossible no matter how hard or careful you try because you’ll have to seat the processor correctly, which requires you to raise the socket armature.
In this case, you can separate the CPU from the cooler by using dental floss. Here’s how.
Step 1: The processor is already out of the socket and stuck to the cooler. So flip the cooler upside down.
Step 2: Use dental floss wrapped around both hands and thumbs on the cooler to “cut” the paste under control.
Step 3: Regardless of the previous method, I do not recommend using a knife because, with that, you stand a good chance of landing pins on the floor.
In a nutshell
A CPU cooler is a very salient component of a CPU, as it plays the essential role of minimizing the excessive heat that the processor produces.
When the CPU gets stuck to the cooler, there are simple methods to fix the issue, but you should not first think of using sharp objects because not all are suitable for such a process, and most of these objects can scratch the surface of the CPU.
With a careful hand, you can use isopropyl alcohol, a fishing line, or a heat gun to reduce the stiffness of the thermal paste at the connection point. This will make the separation go as smoothly as possible.
In Conclusion
I want to assume you have now removed the CPU from the cooler. The following line of thought (quite substantial) is how to reapply thermal paste after removing the cooler.
First, clean the surface where the cooler will be applied, and then measure and pour the paste onto the surface.
Make sure you spread the paste evenly across the cleaned surface as you apply pressure using your fingertips. Allow the paste to cool for 120 minutes, and then use a hair dryer to apply heat.
I hope you find this guide helpful.


![How to Add More SATA Ports to Motherboard? [Guide] 5 How to Add More SATA Ports to Motherboard](https://bestofmotherboard.com/wp-content/uploads/2022/02/How-to-Add-More-SATA-Ports-to-Motherboard.jpg)
![How To Install Motherboard Drivers With USB? [Guide] 6 How To Install Motherboard Drivers With USB](https://bestofmotherboard.com/wp-content/uploads/2022/02/How-To-Install-Motherboard-Drivers-With-USB.jpg)