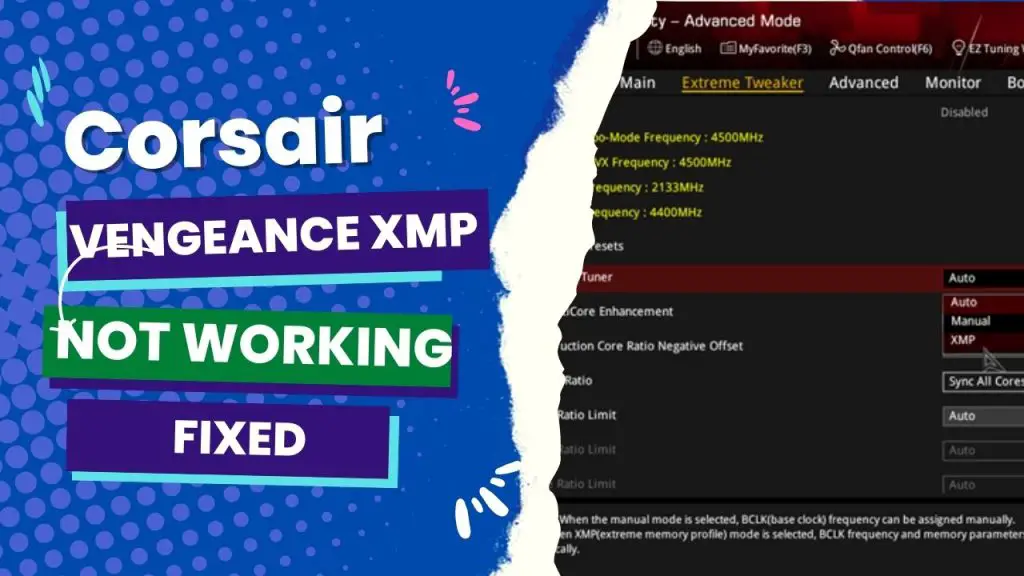
Your Corsair Vengeance XMP RAM won’t work because it wasn’t installed correctly or isn’t compatible with your motherboard and processor. Other possible causes include faulty memory modules, overheating, and power supply problems. Check the computer’s installation, BIOS settings, compatibility, and hardware parts to determine what’s wrong and make sure it’s getting enough power and cooling.
According to VENGEANCE, their LPX DDR4 modules are compatibility-tested across 100 and 200 Series motherboards for reliably fast performance with XMP 2.0 support for trouble-free automatic overclocking.
If you just enabled your RAM’s XMP, hoping to squeeze a bit extra performance out of your computer, but after rebooting, you see nothing but a blank screen or the dreaded “blue screen of death” while running specific applications, this article is for you.
In the rest of this post, you will learn why these problems sometimes occur after enabling Corsair Vengeance XMP and how to fix them. We will also look at getting your P.C. working again if you have a blank screen.
Other Reason for Corsair Vengeance XMP Not Working
As highlighted earlier, the primary reason the Corsair Vengeance XMP doesn’t work is that the RAM’s XMP pushes the memory controller beyond its limit, leading to inconsistency in performance.
Just because you bought RAM rated at 3800, 4000, or even 5000 MHz does not necessarily mean your computer can run it stably at that speed.
When you notice that the Corsair Vengeance XMP isn’t working, it’s likely the memory controller on your CPU isn’t capable of running at your RAM’s rated XMP speed.
As you know, the memory controller manages all of the data going to and from your RAM, while XMP is a form of overclocking. When you apply an XMP, you’re overclocking your RAM.
And while your RAM is rated to operate at that speed, you are now overclocking your memory controller, which is built into your CPU, and it may not be able to run at that speed.
In a similar vein, if the XMP pushes your memory controller faster than it is capable of running, or pushes it right into its limits, then you’re going to have stability issues, which manifest in the form of black screens, blue screens, random crashes, and other system problems.
Troubleshooting Tips
There are a few reasons why your Corsair Vengeance XMP memory might not be working correctly and several potential solutions you can try to fix the issue.
- BIOS settings: Make sure the XMP profile is enabled in your BIOS settings. This is often required for the XMP profile to work correctly.
- Compatibility: Check that the memory is compatible with your motherboard and CPU. Corsair Vengeance XMP memory is designed to work with Intel CPUs, so if you are using an AMD CPU, it may not work correctly.
- Firmware updates: Ensure you have the latest updates for your motherboard and CPU. Sometimes, new firmware updates can fix issues with XMP compatibility.
- Voltage: Check the voltage of your memory. Some XMP profiles require a higher voltage than the default setting, and if the voltage is set too low, the memory may not work properly.
- Overclocking: If you are overclocking your system, ensure that the XMP profile is stable at higher clock speeds. If the XMP profile is unstable, you may need to adjust your overclocking settings or use a lower-frequency XMP profile.
- Cooling: Make sure that your system is properly cooled. Overheating can cause issues with memory performance and stability.
- Damage: If you have checked all the above and the memory is still not working properly, the memory modules may be damaged. In this case, you may need to replace the faulty modules.
A Step-by-Step Guide to Fixing Corsair Vengeance XMP Not Working
I use XMP because it provides a one-step toggle switch that allows you to bypass the time-consuming trial-and-error tweaking required for RAM overclocking.
So here is my quick solution if you are encountering problems with Corsair Vengeance XMP crashing or simply not working:
Step 1: First, you must enable the RAM’s XMP in the BIOS setup. Before saving and exiting, you should go into the BIOS advanced mode, navigate to the A.I. tweaker, and select memory frequency.
This will display various RAM speeds, some higher than your RAM is rated at and others lower. I recommend choosing a speed one step down from your RAM’s XMP speed since the problem we are dealing with here is the RAM speed is too high. Save and exit BIOS after selecting the speed.
Step 2: Next, load up a game or any other application where you were experiencing crashing problems or other issues, and then observe the results of the changes you just made.
Step 3: If it gives you a problem again, go back into the BIOS settings, bump the memory frequency down one more notch, and repeat the process until things begin to run stably.
Step 4: You can consider adjusting the timings and voltage, but only if you are willing to spend the time doing it and are interested in getting the best performance possible.
The memory controller is not always the slow one. Another possibility is the motherboard itself. Some boards might also require assistance to start clocks, such as tinkering with voltages and turning on Gear Down mode or 2T.
So fiddling with SOC voltage and OR dram voltage might also help. The same issue goes with ProcODT, RttNom, RttWr, RttPark, and the four Drv/Str settings.
Additionally, you should check to see if your motherboard supports the RAM sticks you purchased.
What if you can’t even enter BIOS settings because RAM XMP isn’t working?
In some cases, you won’t even be able to get into the BIOS. After enabling XMP, you get a black screen and can’t do anything. The first thing you need to do is disable the XMP, and since you can’t access your BIOS at the moment, you will have to clear your motherboard CMOS.
The CMOS is the chip on your motherboard where all your CPU clock speed, boot device, RAM speed, and other settings are stored. When you clear the CMOS, it will reset the BIOS back to its default or factory settings.
Step 1: Shut your computer’s power off and unplug the power cord.
Step 2: Open your computer and press the Clear CMOS button. You can refer to your motherboard manual to locate the button inside the unit. Some motherboards do not have this button feature.
In that case, you can use the manual to locate any Clear CMOS pins on the motherboard and then bridge with the tip of a screwdriver for 5 to 10 seconds, or you can remove the round battery on the motherboard.
The silver round battery provides power to the CMOS chip, allowing it to store all your custom BIOS settings like your RAM’s XMP. So pop this battery out for 30 seconds, and that should kill the power to the CMOS long enough to reset everything back to default.
P.S.: You may need to remove your graphics card to access either the CMOS pins or the battery because they are usually positioned behind the graphics card on the motherboard.
Conclusion
Suppose you recently got a nice prebuilt and noticed the memory speed was running at, say, 2666. In that case, you may consider enabling XMP to take advantage of the full 3200.
But you may want to change your mind when you look at how it could make the system less stable.
With the information shared in this article, I hope you are now confident in tinkering since you can undo any mistakes if they happen.


![What Are Motherboard Standoffs? [Guide] 4 What Are Motherboard Standoffs](https://bestofmotherboard.com/wp-content/uploads/2022/01/What-Are-Motherboard-Standoffs.jpg)
![Does it Matter Which PCIe x16 slot I Use? [Guide] 5 Does it Matter Which PCIe x16 slot I Use](https://bestofmotherboard.com/wp-content/uploads/2022/01/Does-it-Matter-Which-PCIe-x16-slot-I-Use.jpg)
