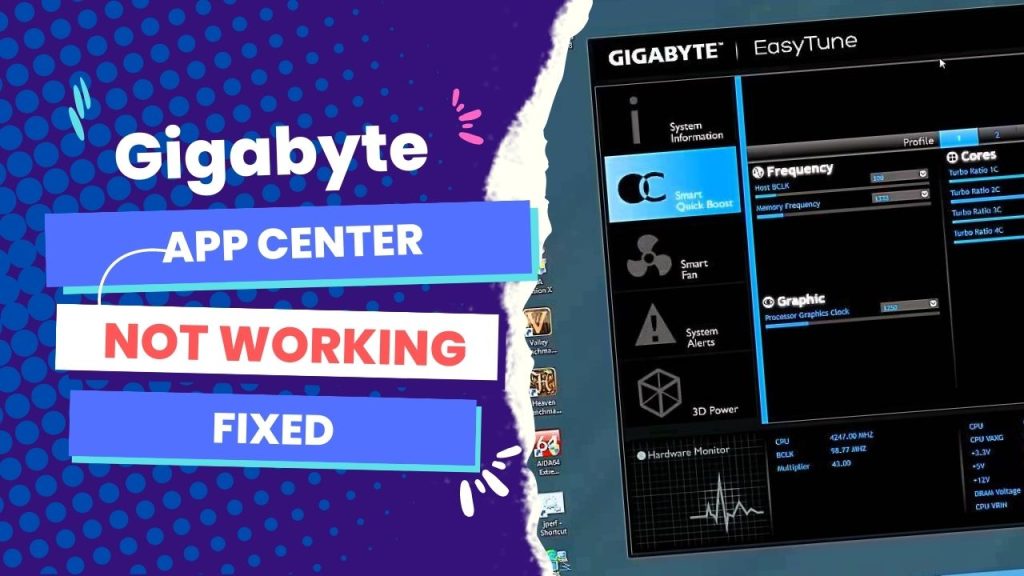
The Gigabyte App Center may not work due to outdated drivers, incompatible software, or corrupt files. To fix the issue, try updating drivers and software to their latest versions, reinstalling the App Center, or running a system file checker.
Additionally, make sure your operating system is up to date and that your computer meets the minimum system requirements for the App Center.
Perhaps none of the gigabyte apps would open on your motherboard, including the AppCenter in the BIOS or EasyTune.
You’d be surprised at the number of other users who run into the problem as well, so you are not alone.
In many situations, the solution to the Gigabyte app center not working runs down to opening Color Management > Advanced tab > changing the device profile to “System Default.”
That would fix it in a normal situation. However, chances are this won’t work for you, but it’s worth a try. Still, some unfamiliar situations require other troubleshooting tips that I’m going to show you in the rest of this article.
Gigabyte App Center Not Working: What Worked for Me
It happened that after the last Windows 11 update, my Gigabyte App Center stopped working anymore, as did the apps included with it like RGB Fusion.
As you probably have attempted, I considered uninstalling them, but the process didn’t go as usual since some icons disappeared from the programs. In some instances of installation, I even get the message “Error 1920 service failed to start. Verify that you have sufficient privileges to start system services“
My first move was to try and reset back to a restore point from before these updates. And if none were available, I’d try uninstalling these specific Windows Updates.
But the same issue remained afterward. So at that point, it seemed the only option was to manually uninstall all related Gigabyte software and then reinstall everything related. But I didn’t want to go down that road, as it could lead to a mandatory fresh OS install using the latest MS 11 install package.
So after giving it a hard look, I figured that the problem behind the Gigabyte app not working after the Windows update was that net framework 3.5 was disabled with the last update. So I had to reactivate it following the proper procedure, and all programs that stopped working started working fine after a restart.
So if this sounds similar to your problem, you should give this solution a shot.
Navigate to Control Panel > Programs > Turn Windows features on or off and make sure.NET Framework 3.5 (which includes.NET 2.0 and 3.0) and Net Framework 4.8 Advanced Services are checked to be ON.
By now, the problem of the Gigabyte App Center not working should be a thing of the past. But if there are still no dice, then there are other things you can try. The above solution was what worked for me. But it doesn’t apply to all cases where Gigabyte App Center refuses to work.
For instance, it could be that you ran into “the driver can’t release due to failure” after Windows 10 updates or when using a certain Gigabyte utility, especially Gigabyte Cloud Station and EasyTune.
Most common troubleshooting tips:
Gigabyte App Center “The Driver Can’t Release Due to Failure”—Fixes
1. Home Cloud, Gigabyte Remote, and Remote OC at startup settings
If you are a Gigabyte user, you may have experienced issues with Gigabyte software such as Cloud Station Server and Gigabyte EasyTune failing to release when you reboot Windows 10.
This can be attributed to the Always run on the next reboot option, which is enabled by default for Gigabyte HomeCloud, Home OC, and Gigabyte Remote.
To address this issue, you can disable the “Always run on next reboot” option for these three Gigabyte items by following these steps:
Step 1: Open the Gigabyte App Center.
Step 2: Locate the Gigabyte Cloud Station server in the App Center.
Step 3: Under Gigabyte Cloud Station Server, find HomeCloud, Gigabyte Remote, and Remote OC.
Step 4: Turn off the “Always run on next reboot” option for all three items.
Step 5: Reboot your computer to apply the changes.
After following these steps, you should no longer encounter the “driver can’t release due to failure” error at startup, and the Gigabyte App Center should open without issue on Windows 10.
If otherwise, then consider the next solution.
2. Try uninstalling the Gigabyte App Center Utility.
The “Gigabyte drivers can’t release due to failure” error may be caused by issues with the Gigabyte App Center.
To resolve this issue, you can try uninstalling and reinstalling the problematic software on your PC using the following steps:
Step 1: Navigate to the Control Panel on your Windows 10 PC.
Step 2: In the Control Panel, select “View by Category” and then click on “Uninstall a program” under the “Programs” category.
Step 3: Scroll down to locate the Gigabyte App Center in the Programs and Features window and right-click on it to select “Uninstall.”
Step 4: Restart your Windows 10 PC.
After reinstalling the Gigabyte App Center, check to see if the “Gigabyte drivers can’t release due to failure” error has been resolved for your Gigabyte motherboard.
If that doesn’t work, then it means you have to uninstall and reinstall the gigabyte service.
3. Turn Off the Gigabyte Service and Enable It Again.
To address the “driver can’t release due to failure” error related to Gigabyte services, it may be necessary to uninstall and reinstall the Gigabyte service using Command Prompt.
In some cases, the Gigabyte services themselves may be the root cause of the issue.
To do this, follow these steps:
Step 1: Search for Command Prompt in the Windows search box and right-click to select “Run as administrator.”
Step 2: In the Command Prompt, enter “sc delete gdrv” and press Enter to uninstall the Gigabyte service.
Step 3: Then, enter the required command to reinstall the Gigabyte services for Windows 10:
Step 4: Restart your computer.
4. Any Windows update?
If you are experiencing the “driver can’t release due to failure” error or App Center not working after a Windows 10 update, it is worth checking for new updates that may help resolve the issue.
To do this:
Step 1: Click on “Start,” go to “Settings,” and select “Update & Security.”
Step 2: Under Windows Update, click on “Check for updates.”
Once the updates are installed, the Gigabyte utilities may become more compatible with the drivers on your PC.
Conclusion
A few cases of the Gigabyte App Center not working that I have combed through on forums recounted issues connected to how computers immediately turn off each time the users go into the System Information Viewer section of the Gigabyte App Center and then click on one of the tabs relating to the fan control.
No matter what the actual issue is that’s making your Gigabyte App Center not work properly, it all boils down to solving it using any of the solutions shared in the above article.
I’ve spent years using Gigabyte, and if you ask me, I’d say the App Center is far from satisfactory. I find them personally to be unreliable and sometimes unbearably buggy.
My two cents? Uninstall it and set fan settings straight in BIOS; it works perfectly for me whenever this issue surfaces and I need to do fan control configurations.
P.S. You’ll now have to familiarize yourself with BIOS use if you are overclocking or changing fan speeds.

