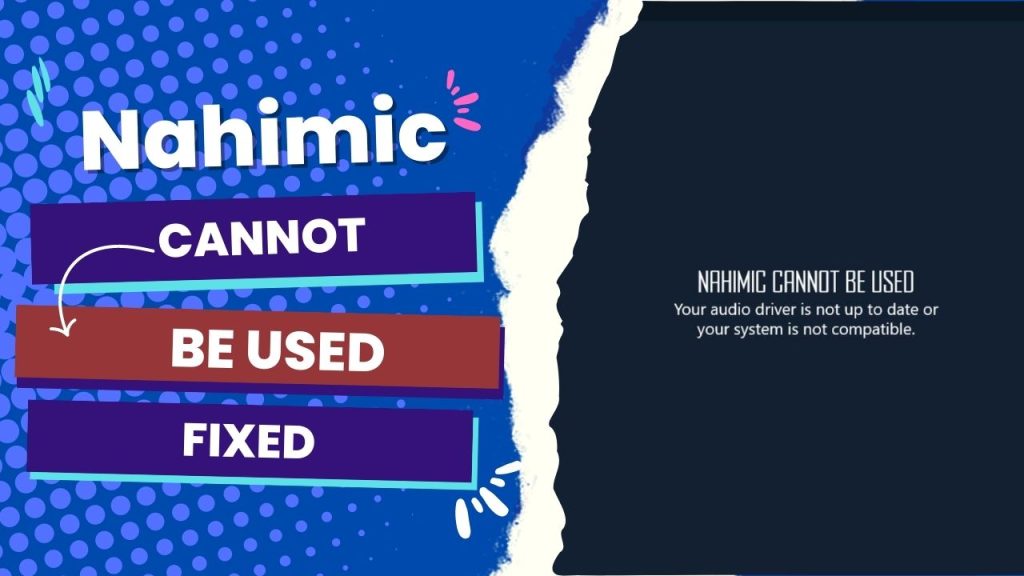
Nahimic initialization failure is a common challenge, especially after every Windows or driver update. Thus, you may get the error message that reads, “Nahimic cannot be used
However, issues of support and compatibility could also be the culprit. While there is no singular fix for this problem, many users have solved it by either restarting the PC after an update or reinstalling the current Realtek and Nahimic drivers.
The latter is quite tricky because you will need to first uninstall the software and follow a few unorthodox installation steps that you may not be familiar with.
But not to worry.
In this post, we will walk through the step-by-step process of how to fix the “Nahimic Cannot Be Used” error message and how to solve the compatibility issues with the app.
Reinstallation Process for Solving Nahimic 3 Initialization Failure
In this section, I will walk you through how to properly uninstall and reinstall both the driver and application of Nahimic 3 with the latest working driver.
Before anything, ensure you’ve downloaded the latest driver package that is compatible with your machine on the manufacturer’s website (otherwise, none of these attempts will make any change) Also, make sure your system has no internet connection.
Step 1: Uninstall your application.
First, navigate to the “Apps & Features” Windows Panel and uninstall Nahimic 3. Afterward, move to the C:/ProgramData folder and look for the A-Volute folder. The folder is sometimes hidden, and you may need to restart after the prompt.
Next, navigate to C:/ProgramFiles/WindowsApps and delete the A-volute.Nahimic.xxxx folders in the file. Once these have been discarded, then it’s time to uninstall the driver.
Step 2: Uninstall your driver
Again, move to the “Apps & Features” Windows Panel and select the Realtek High Definition Audio driver, then uninstall it.
After the uninstallation process is complete, restart your system. Now, navigate to the Windows Registry. (You can simply type “regedit on the Windows search bar to easily locate this field.)
Under Computer/HKEY_LOCAL_MACHINE/SOFTWARE, you delete the “Nahimic” and “A-volute” folders. Then, under Computer/HKEY_CURRENT_USER/SOFTWARE, you delete the “A-Volume” folder.
Step 3: Reinstall Nahimic 3.
Now, open the “Setup” file in the Realtek driver folder and the Realtek High Definition Audio Player driver that you previously downloaded. Afterward, you reboot your system.
Then, in the Nahimic driver folder, open the “Install.bat” file and install the Nahimic Audio Driver. After this, you reboot your machine again.
You then navigate to the Windows Task Manager page and check that NahimicService.exe is up and running. Then move to C:/Windows/System32 and ensure the following files are present in the folder:
- NahimicService.exe
- NahimicService.ini
- NahimicSvc64.exe
- NahimicV3apo.dll
- NahimicV3NSControl.dII
- NahimicV3NSControlExpert.dII
Step 4: Install the latest version of Nahimic 3.
Once you confirm the above files are present in C:/Windows/System32, it means the drivers are now properly installed. At this point, you’ll need to turn on your internet connection to install the latest version of Nahimic 3.
First, go to the Windows Store, and then search for Nahimic 3. Move to C:/ProgramData after installation to make sure there’s an A-Volute folder with Archives and A-Volute. Nahimic subfolders.
With that, you have successfully uninstalled and reinstalled the current versions of Realtek and Nahimic to solve the issue of “Nahimic cannot be started” on your device.
I recommend you allow your computer to receive both Microsoft Store updates for Nahimic 3 and Windows Update for your drivers to avoid this kind of issue again. If you encounter any unusual problems during the installation, it would be best to refer to the Nahimic support page for guidance.
It Could Be Support Issues…
As you probably know already, the Microsoft Store issued version 1.5.1 of the Nahimic 3 app. On some older systems, the app may display “not compatible” when launched. In other words, the error message means you need a new modded driver update that is designed with newer Nahimic integration files.
For instance, I first encountered this “Nahimic Cannot Be Used” error on my MSI GF63 9SC. After much research on the internet, I realized that Nahimic does not support the MSI GF63-9SC because there is no such model in the supported list.
So, if this is similar to your situation, then you are dealing with incompatibility. Hence, reinstalling the current Realtek and Nahimic drivers may not make headway.
Instead, you’d have to troubleshoot the issue with the following steps:
Step 1: You don’t have to update the Nahimic from the device manager. Instead, download its driver from the official manufacturer’s website.
Step 2: If you’ve confirmed that your PC supports Nahimic, then restart your device several times and open the app after a few minutes.
Step 3: Still no dice? Then you may need to talk with manufacturer customer service.
The Takeaway
As mentioned earlier, most of the “Nahimic has failed to initialize” error messages are caused by an unexpected malfunction or a Windows or driver update.
When such a message appears and you have tried all that has been explained above with no luck, you can use the attached Nahimic automatic restore tool to recover Nahimic’s full functionality. After launching the tool with a simple click, it will:
- Detect your hardware.
- Check your system for updates.
- Clean and install everything required to make your Nahimic work properly again.
If, after attempting all these fixes, you still experience any problems with launching the Nahimic, it is most likely a compatibility issue. Still, try contacting the manufacturers directly by submitting a new ticket via their dedicated platform.


![How to Add More SATA Ports to Motherboard? [Guide] 5 How to Add More SATA Ports to Motherboard](https://bestofmotherboard.com/wp-content/uploads/2022/02/How-to-Add-More-SATA-Ports-to-Motherboard.jpg)
![How To Install Motherboard Drivers With USB? [Guide] 6 How To Install Motherboard Drivers With USB](https://bestofmotherboard.com/wp-content/uploads/2022/02/How-To-Install-Motherboard-Drivers-With-USB.jpg)