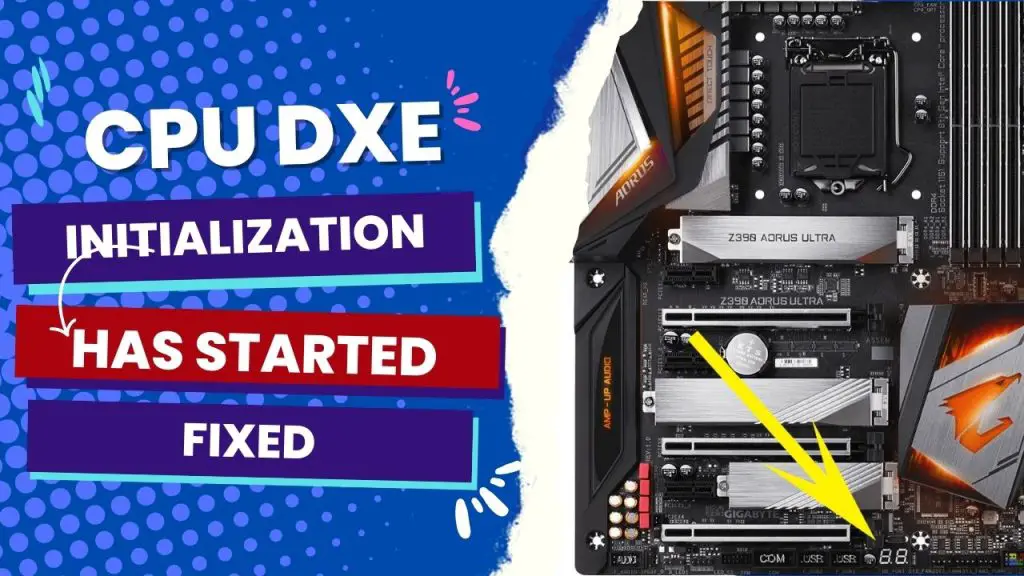
On the LED debug display, “CPU DXE Initialization Is Started” is represented by a 63–67 error code. DXE is an abbreviation for Driver Execution Environment. It loads all of your system parameters into memory and initializes permanent memory. If you receive this error message during the boot process and your computer refuses to boot, it could be due to a faulty memory stick or the need to reset your two memory boards.
However, I’ve been in a much more complicated situation, so I know what it’s like to lose your mind trying to figure out what “CPU DXE Initialization has Started” means and what to do, especially when everything appears to be OK despite receiving the error code.
Many people have solved issues related to this problem by simply removing and reseating the two memory boards, but it won’t work in every case.
I’ve done more research on this error code, and I will show you in the rest of this article what it means and how to fix it (if the error prevents your P.C. from working as expected).
“CPU DXE Initialization Is Started,” meaning.
As mentioned earlier, the DXE drivers are responsible for initializing the processor, chipset, and platform components. They also provide software abstractions for system services, consoles, and boot devices, all required to boot the O.S.
The DXE initialization stage comes after the Pre-EFI Initialization (PEI), where permanent memory in the platform is initialized. So the former is the phase where most system initialization is performed.
The DXE phase features components that initialize the platform and provide what is required to boot an operating system. These components include a set of “DXE Drivers,” the “DXE Foundation,” and the “DXE Dispatcher.”
When you get that message, it means the DXE phase is working together with the Boot Device Selection (BDS) phase to establish consoles and attempt booting operating systems. So when your operating system is finally booted, the DXE phase is terminated.
Apart from the runtime data structures allocated by the DXE Core and DXE drivers, no code from the DXE Core itself can persist into the operating system runtime environment.
“CPU DXE Initialization Is Started” Problems & Solutions
The common problem with this error code (probably your situation) is that everything could run smoothly until your system refuses to post. Everything would seem to be working fine, including the cooler, GPU, HDD, case fans, and whatnot, except the monitor, even while it is receiving power and connected to the computer.
You’d then look at the computer and see the 63 q-code, which means “CPU DXE Initialization is started” on the manual. If this sounds like what you are experiencing, the good news is that there are several ways you can solve the problem.
Here are ten different troubleshooting steps to get your monitor to recover and post after receiving this error:
1. Disconnect the GPU and use the onboard DisplayPort.
Consider removing the GPU and using the onboard DisplayPort to enable the computer to use the built-in graphics capabilities of the computer’s processor to drive the display instead of the external graphics processing unit.
If the computer can display video output via this connection instead of the GPU, you can easily trace where the problem stems from. If nothing happens, try changing the DisplayPort cable. If you still have no luck with this approach, consider trying the next one.
2. Boot with one stick of RAM.
Booting with one stick of RAM and testing it in all slots is a standard troubleshooting method for memory issues. Sometimes, when this error code halts my post-phase, I use this method to determine if the issue is with the specific RAM stick or other components.
When your system starts up, it runs a series of checks to ensure that any necessary hardware and software issues are functioning correctly. So test the isolation by booting with one stick of RAM and testing it in all slots, then booting with two sticks of RAM in Dual Channel mode. You can also try using another set of known-working RAM.
3. Try a BIOS flashback.
In situations like this, you’d want to be sure that the BIOS is not corrupted or otherwise not functional, so this troubleshooting option allows you to update the BIOS without being able to access the current one.
Some motherboards feature this BIOS flashback, but you need a USB drive with a new BIOS file on it, and then you use the designated button on the motherboard to initiate the flashback process, which will take between 5 and 10 minutes.
By using BIOS flashback, you can update the BIOS to a newer version, which may fix some issues related to stability, compatibility, and the inability to boot.
4. Clear CMOS by jumping
If the above tips do not change anything, it is time to clear the CMOS using a jumper. The jumper is a small pin on the motherboard, and moving it to a different position returns the CMOS settings to their defaults.
It is a good leap if you suspect the issue to be due to incorrect date and time settings, stability issues, or problems with new hardware. Alternatively, you can consider clearing the CMOS by removing the battery from the motherboard, holding it out for a few minutes, and re-inserting it.
5. Power up the motherboard outside of the case.
Rather than a guess, this is a proven troubleshooting technique for when a computer is not starting up or experiencing related posting issues.
If you have difficulty determining whether the problem is with the motherboard or other components (such as the power supply or CPU), consider removing the motherboard from the case and connecting only the essential components directly to the board. These components include the CPU, RAM, cooler, power supply, and monitor.
If the system does not start up or has errors outside the case, it suggests that the issue is likely with the motherboard itself.
Still no luck?
If you’ve tried all of the above fixes and still haven’t found a solution, the problem may be with your CPU or motherboard.
Since you’ve checked all the boxes that technically relate to this issue, you can’t do much other than order a new one and test it. Great job checking everything, friend.
Meanwhile, if you get the “CPU DXE Initialization Is Started” code and your system is running OK, and posting does not halt, you have nothing to worry about.
P.S.: Q Code A.A... indicates that the post has been successfully handed over to the operating system.
I hope this helped.


![What Are Motherboard Standoffs? [Guide] 5 What Are Motherboard Standoffs](https://bestofmotherboard.com/wp-content/uploads/2022/01/What-Are-Motherboard-Standoffs.jpg)
![Does it Matter Which PCIe x16 slot I Use? [Guide] 6 Does it Matter Which PCIe x16 slot I Use](https://bestofmotherboard.com/wp-content/uploads/2022/01/Does-it-Matter-Which-PCIe-x16-slot-I-Use.jpg)