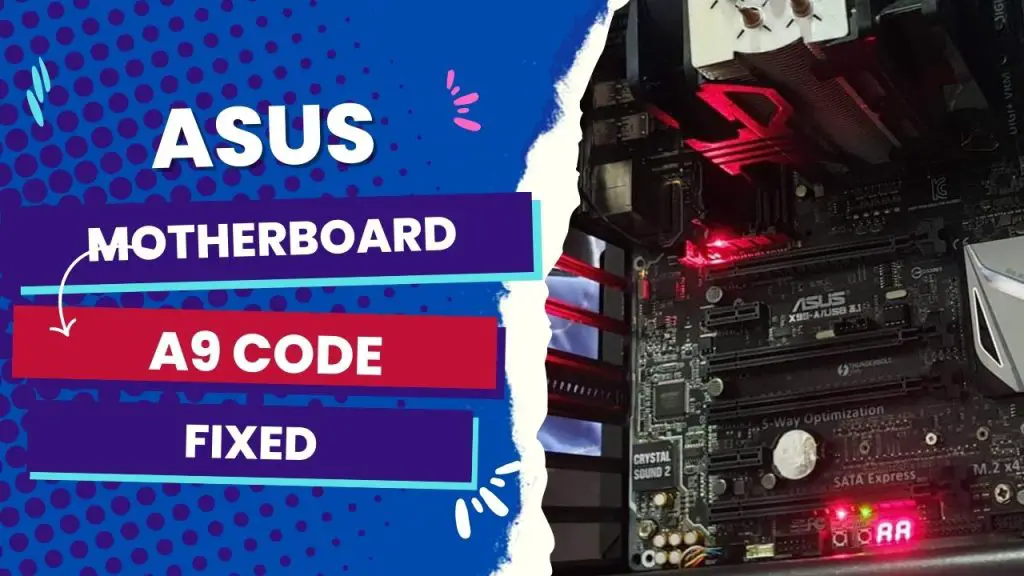
The A9 code on your motherboard means the computer has entered BIOS. If your Asus motherboard is stuck at the A9 code and refuses to post, this is a common issue that can be resolved by either pulling the GPU or, if your motherboard has onboard video, replacing it. If it still does not post, you must perform a BIOS reset.
In normal circumstances, the LCD on the Asus motherboard settles with a steady A9 code when the system has completed the Power On Self Test. Looking at pages 1–16 of the X99-AII User Guide, you will learn that code A9 signifies the start of setup.
You can, however, see this code, and your system will refuse to post. It happened, for example, when I first assembled my first build with the Asus Maximus VII Hero motherboard. There were no beeps, no colored LEDs, and no display on my monitor after I turned it on. This happened when I assembled my first build with the Asus Maximus VII Hero motherboard. There were no beeps, no colored LEDs, and no display on my monitor after I turned it on. because of
In this article, I’ll show you how to fix the Asus Motherboard A9 Code POST problem by performing a BIOS reset, replacing the SSD, and troubleshooting booting into the BIOS. As a bonus, I’ll demonstrate how to turn off the A9 static display on your motherboard LED.
How to solve Asus motherboard A9 code by BIOS reset
The problem with POST code A9 is common on Asus motherboards. Usually, you’d try to change the BIOS during the boot process, but the message “Entering Setup” still appears, and then a change to the BIOS halts.
It means the server is stuck because the code appears each time you try to enter the server’s BIOS at boot time. In this case, it is best to restart the BIOS to resolve the issue. Here’s how:
Step 1: Unplug all power cables to deactivate all possible power connections.
Step 2: Remove the BIOS battery from the motherboard.
Step 3: Use a metal tool to short-circuit the two metal connections on the battery socket, thereby resetting it.
Step 4: Re-insert the BIOS battery and restore power to the system. Now boot the system properly and observe the result.
How to Solve the Asus Motherboard A9 Code by Replacing the SSD
I have helped some first-time builders fix the A9 Code POST problem on their Asus by simply replacing the faulty SSD. How do you know this could be the solution for you?
Well, you might have built the first PC and enjoyed it for a while, but then you started to have intermittent issues where it didn’t boot correctly. If you boot the system and it enters BIOS, shows BSOD, and displays the INACCESSIBLE_BOOT_DEVICE error, you might be thinking of disassembling and cleaning all connections on RAM and GPU or clearing CMOS. But that doesn’t always bring luck in such a case.
You may see the A9 code on the QLED display whenever this happens. I recommend you check if you have a faulty SSD and then replace it with a new one with a clean OS installed and the HDD disconnected.
However, before you go ahead with that, consider other easy fixes like updating the motherboard driver, undoing all overclocking, or changing the CMOS battery.
Other Troubleshooting Tips for Booting into the BIOS with the A9 Code
After reviewing the Asus website for information on this codec, I discovered that the manufacturer recommends specific troubleshooting attempts if you experience abnormalities with the A9 code. These fixes include:
- When your Asus motherboard displays the A9 code and refuses to boot properly, ensure the monitor’s power cable is properly connected and that your monitor can display. (If you switch on and off and then get “no signal,” the monitor is normally powered on.)
- Consider reconnecting the two ends of the display cable and checking for bent pins. Inspect the signal cables (VGA, DVI, HDMI, and DisplayPort) to ensure proper connection to the monitor. You can also retest using the same cable type (VGA/DVI or HDMI/DisplayPort).
- If the monitor displays BIOS, check to see if the hard disk or SSD is damaged (or needs replacement, as detailed earlier).
- It would be best if you also considered connecting the monitor to another computer to ensure no problem with the monitor’s output.
How to disable the A9 code on the Asus ROG motherboard
The A9 code on your motherboard may illuminate, but you have no real problem. In such a situation, you might think of turning off the LED Q Code so that it doesn’t come on once Windows mode is on.
Before anything, ensure you have installed the latest BIOS version of your motherboard. Afterward, you boot your system and load the BIOS.
Step 1: Navigate to “AURA ON or OFF.” Click on it and choose “Stealth Mode.” This mode will disable all the LEDs, including the RGB fuse, or only disable the board LEDs.
Step 2: Once you’ve made that selection, click on “Advanced” AROG effects and disable both “Onboard LED” and “Q-code LED fusion.”
Step 3: Click Exit and save the changes.
Wait for the system to reboot and observe the changes. Making this set is better than using a piece of tape to cover it.
Wrapping up
Asus motherboards’ AMI code for “start of setup” is A9. In other words, the code indicates that the system is entering BIOS mode. It’s worth noting that if your system doesn’t yet have an operating system installed, it’s normal to boot directly into the BIOS.
When confronted with strange errors like this, it’s tempting to unplug the peripherals one by one to identify the triggering device and see if that solves the problem, especially when you realize you get the same POST code when pulling the VGA.
However, because the motherboard has onboard video, many cases of Asus Motherboard A9 Code booting problems that I’ve had to deal with were solved by simply removing the GPU. It’s a pain to do that. Then it would be best if you thought about performing a BIOS reset or inspecting your drive for a faulty SSD that needs to be replaced.


![Asus Motherboard Keeps Booting Into BIOS [Solutions] 3 Asus Motherboard Keeps Booting Into BIOS](https://bestofmotherboard.com/wp-content/uploads/2022/02/Asus-Motherboard-Keeps-Booting-Into-BIOS.jpg)
![How to Configure Your Asus Motherboard RGB Lighting [Guide] 4 How to Configure Your Asus Motherboard RGB Lighting](https://bestofmotherboard.com/wp-content/uploads/2022/02/How-to-Configure-Your-Asus-Motherboard-RGB-Lighting.jpg)

