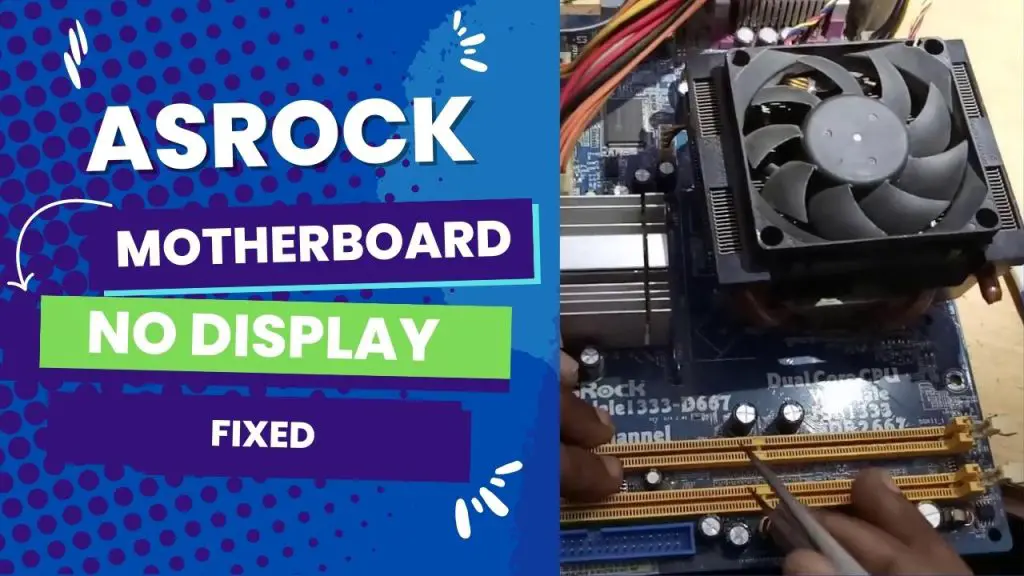
The most common causes of an Asrock motherboard failing to post are loose RAM, an incorrect orientation of the CPU power socket pins, or a faulty power supply connection. The best solution is to perform a real paper clip test on your power supply to ensure everything is properly plugged in, which solves the problem 90% of the time.
I first encountered this problem after upgrading my PC with an Asrock B450M, 8 GB of 2400 MHz Vengeance LPX RAM, and a Ryzen 2600.
My motherboard refused to post after I set everything up. Like most others, the first areas of attention I was drawn to were the graphics card, monitor, and cable connections. This article is for you if you have tried all these and still have no luck.
In the rest of this post, you will learn a few ways to instantly fix the issue of when your Asrock motherboard will not post. First, let’s look at the common causes:
6 Common Reasons for Asrock Motherboard Failure to Post
On Asrock computers, one beep usually means the post is successful. You may have to wait a few minutes for the first post on the new build.
But when you don’t get a display signal, you may wonder where the problem stems. Here are the common causes:
1. Wrong display cable connection
One of the common reasons why Asrock motherboards don’t post is when you plug the display cable into the motherboard instead of the graphics card. After combing through dozens of forums where this problem was cited, I realized it was an easy enough mistake.
So double-check that you are connected to the graphics card rather than the motherboard outputs.
2. Problems with the power supply
Another popular culprit behind Asrock motherboards not posting is when you use cheap models of power supplies. Inspect the power supply and list the exact model of your PSU or the series. The problem can come from the power supplies, as quality and reliable 500W models are hard to find.
3. The graphics card isn’t fully seated or needs tweaking.
The display cable can cause the motherboard not to post. Consider trying a different one. Similarly, if your graphics card isn’t fully seated, the motherboard may also have a challenge posting.
4. Disorientation of the 8-pin EPS power connector
If the 8-pin EPS power connector is not connected to the motherboard, it won’t post. Check to confirm that you haven’t confused it with the 8-pin connectors for the graphics card.
5. Bent pins in the CPU
Bent pins are also probably suspect in cases like this. So pull the CPU to ensure that there aren’t any bent pins causing connection problems.
6. The BIOS needs to be reset.
Lastly, when your Asrock motherboard refuses to post, it could be that your BIOS needs a reset. You may need to install one memory module into the A2 slot and then power off for a hard BIOS reset.
There might be other complicated and deeply technical reasons why your motherboard won’t post, but for Asrock boards, any of the above six scenarios are usually the cause. Here is how to instantly resolve the issue:
Best Fix For When Asrock Motherboard Won’t POST
Asrock motherboards refusing to post is a common problem, which explains why it is relatively easy to fix compared to an RMA.
First, ensure everything is plugged in. including MB power, 4/8 CPU power, and extra GPU power as needed.
You must also ensure the display is plugged into the correct GPU or port. If a third-party GPU exists, do not use it with MB. Also, before jumping the gun, ensure the following:
- CPU seated correctly
- PSU switch “on”
- Power SW on right pins
- RAM is on the motherboards’ QVL “approved” list.
- A paper clip test on your PSU to verify all is plugged in properly.
The problem is nearly solved with these (if not solved already). If you’ve exhausted all other options and still can’t find a solution, consider one of the following fixes:
- Consider pulling the RAM and power cycling it. After that, put it back in and try booting to see what happens. If the motherboard still does not post, proceed to the next solution.
- Another way to troubleshoot the problem is to loosen the screws holding the motherboard to the case and move it a bit. Sometimes, the motherboard needs a fix as basic as an adjustment to start working properly.
Also, check if your CPU cooler is seated properly and the TIM is applied properly by cleaning and reapplying the TIM. Check to see if it boots.
- If that fails, try the breadboard method. This entails disassembling the motherboard and rebuilding it in the case without an optical drive, SSD, or HDD. There is no need for a GPU; instead, use onboard video if available.
- By now, things should be running smoothly. If not, consider taking all the sticks of RAM out and then booting. Expect to hear a series of beeps before reinstalling the RAM and booting the motherboard. Consider taking out the video card if nothing happens after the initial step.
- Another way to solve the problem is to do a complete, hard reset of the BIOS, but not in the normal way.
First, unplug the computer and take everything out except the CPU, fan, and power switch. (You can take those out if you have a screwdriver to touch the two pins of the power switch to turn it on.)
Next, you remove the BIOS battery and unplug the PSU from the wall, then try booting. Even without a power supply, expect the fans to move a little and wait for at least half a minute after you hit the power button. Then put the BIOS battery back in and assemble it.
- Lastly, consider checking for bent pins. As mentioned earlier, this is one of the common causes of Asrock motherboards refusing to post.
Take out the CPU, check for bent pins, and then try booting. If there is no result, put back the CPU+GPU+RAM and try it.
If you have a bad motherboard, you will get your Asrock motherboard working properly again with these six fixes.
Troubleshooting Other Asrock Motherboard Problems
The most common problems encountered with ASRock motherboards include:
- Power Issues: Power-related problems, such as the system not turning on, random shutdowns, or unstable power delivery, can occur due to faulty power connections, inadequate power supply, or issues with the motherboard’s power circuitry.
- BIOS/UEFI Issues: Problems with the motherboard’s BIOS or UEFI firmware can lead to boot failures, compatibility issues, or instability. This may require updating the BIOS or resetting the settings to default.
- RAM Compatibility/Configuration: Incompatible or improperly configured RAM modules can cause system crashes, boot failures, or memory-related errors. It is essential to ensure that the RAM modules are compatible with the motherboard and correctly installed in the recommended slots.
- CPU Socket/Cooling Issues: Improper installation of the CPU or cooler can result in poor contact, overheating, or system instability. Ensuring proper installation and adequate cooling is crucial.
- Graphics Card/GPU Problems: ASRock motherboards may encounter issues with graphics cards or GPUs, such as display artifacts, driver conflicts, or compatibility problems. Keeping graphics drivers up to date and ensuring proper seating of the graphics card can help resolve such issues.
- SATA/Storage Problems: Issues with SATA ports, such as unrecognized drives, slow data transfer, or failure to detect storage devices, can occur. Troubleshooting steps may involve checking cables, updating drivers, or testing with different storage devices.
- USB Connectivity Issues: USB ports failing to recognize devices, intermittent connectivity, or slow transfer speeds can be problematic. Verifying proper USB settings in BIOS and updating USB drivers can help resolve such issues.
- Overheating and Cooling: Insufficient cooling or airflow within the system can result in overheating of components, leading to instability or system shutdowns. Regular cleaning of fans and heat sinks and ensuring proper airflow can mitigate overheating issues.
- CMOS/RTC Battery Failure: A faulty CMOS/RTC battery can lead to date/time resets, BIOS configuration loss, or boot errors. Replacing the battery can solve these issues.
- Expansion Card Compatibility: Some ASRock motherboards may encounter compatibility issues with certain expansion cards, such as network adapters, sound cards, or Wi-Fi modules. Verifying compatibility and updating drivers can help resolve these problems.
Troubleshooting Tips For Asrock Motherboard Problems
Step-by-Step Guide to Troubleshooting an ASRock Motherboard:
- Check Power Connections: Ensure that all power cables are securely connected to the motherboard and power supply. Verify that the power supply is functioning correctly.
- Check for Loose Components: Inspect the motherboard for any loose components, such as RAM modules, graphics cards, or cables. Re-seat them if necessary.
- Listen for Beep Codes: When powering on the system, listen for any beep codes. Refer to the motherboard manual to identify the meaning of the beep codes and take appropriate action based on the error indicated.
- Update BIOS: Visit the ASRock website and download the latest BIOS version for your motherboard model. Follow the instructions provided by ASRock to update the BIOS using a USB drive or Windows-based utility.
- Clear CMOS: If you encounter boot or stability issues, resetting the CMOS (Complementary Metal-Oxide-Semiconductor) settings can help. Refer to the motherboard manual for instructions on how to clear the CMOS using the onboard jumper or by removing the CMOS battery temporarily.
- Test Components Individually: To identify faulty hardware, perform component testing. Start by removing all but one RAM module and booting the system. If it boots successfully, add the components back one by one until the issue reoccurs. This helps pinpoint any problematic component.
- Check CPU and Cooler Installation: Ensure that the CPU is properly installed and the CPU cooler is securely mounted. Improper installation can lead to overheating issues and system instability.
- Monitor Temperatures: Use software utilities or BIOS settings to monitor the temperatures of the CPU and other components. High temperatures can cause system instability. Ensure proper cooling and clean any dust buildup on fans and heatsinks.
- Check for Software Conflicts: If the system boots but encounters issues during specific tasks or applications, check for software conflicts or compatibility problems. Update drivers, firmware, and software to their latest versions.
- Contact ASRock Support: If you have exhausted all troubleshooting steps and the issue persists, consider reaching out to ASRock’s technical support for further assistance. Provide them with detailed information about the problem, your system configuration, and the steps you have already taken.
Still no dice?
If you have no luck after trying all these, it may indicate that you have a bad motherboard.
But before jumping to such a conclusion, consider trying just one stick of RAM in all slots, the DOS re-flash method for UEFI, or clearing the CMOS to default.
Also, check if a fan is hooked to the CPU fan header. This is rarely the case, but it is worth checking if you haven’t found a solution.
When my Asrock B450m wouldn’t post, I was desperate as I couldn’t figure it out and was close to sending it all back. It is still a surprise that a fix as mundane as connecting my 8-pin motherboard and CPU power cords in the right orientation immediately made it boot.
So before giving up on the motherboard, consider all the basic troubleshooting steps shared in this article and leave no stone unturned.
I’d appreciate it if you shared which solutions worked for you in the comments so others can learn from it too.

