The most common way to have all your PC accessories synced to the same beat and customize all LEDs to match Gigabyte motherboards is to use the brand’s RGB Fusion software. It is compatible with most Gigabyte motherboards, but certain configurations are required.
Today’s gaming aesthetic is defined by how well you can have your CPU coolers, case fans, RAM sticks, and even cables glow with RGB lights. While these illuminations are great ideas for flaunting expensive computer components, you will need software to control the RGB on your Gigabyte Aorus motherboard.
I have written this article to provide everything you should know about controlling RGB lights on your system, regardless of your model.
Let’s dive right in.
Can You Control Gigabyte Motherboard RGB?
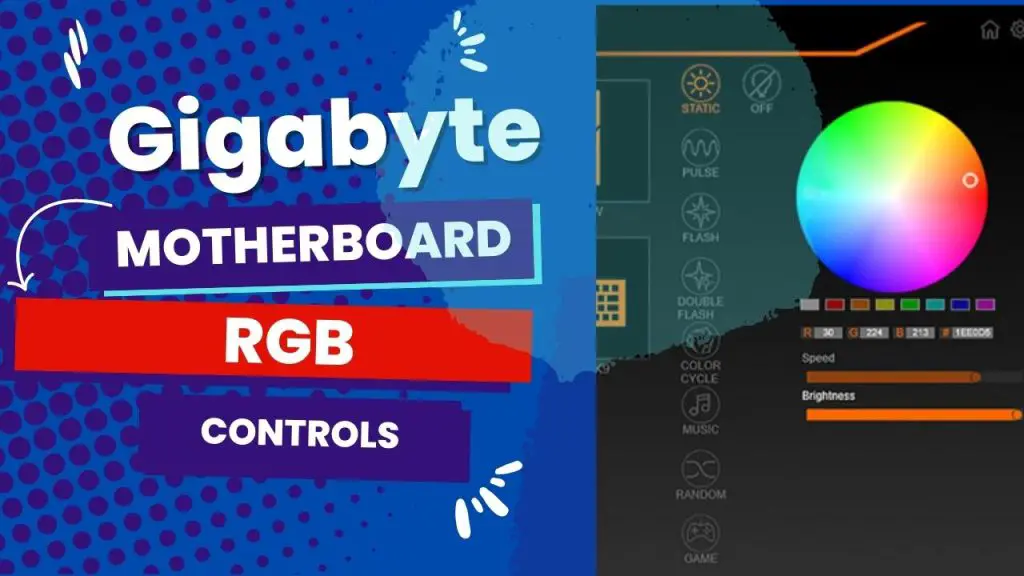
Yes. RGB lighting on the Gigabyte motherboard is controllable. To do so, go to the Peripherals menu option and select the RGB Fusion software, where you will see various options for changing the LED lighting mode on your Gigabyte motherboard.
There is also the option to turn off the RGB entirely. In general, the RGB Fusion lets users control both the LED light strips on board and the ones outside. The most recent version of this software includes colors and patterns and digital LED support.
How Do You Change RGB Lights on a Gigabyte Motherboard?
As previously stated, there is a gigabyte-sized program to download called Gigabyte Fusion 2.0 that allows you to change or turn off the lights on this specific board when the computer is turned on.
You can find this software on the Gigabyte official website under your specific model’s support tab. I use the Gigabyte B550 Aurous Pro, and I searched for my mobo on their website and looked for compatible software in the utility section.
Here is the step-by-step process:
Step 1: Go online and download “Gigabyte RGB Fusion 2.0” or to access it directly. After downloading, you will get the zip file, which you should open and install.
Step 2: After installation, allow the software to load, and it will then display all the registered RGB devices on your computer (the RAM, GPUs, and RGB fans connected to the motherboard).
Step 3: Click on the motherboard option on the interface, leading you to different options, such as customized digital waves and colors from the color wheel.
Step 4: As you customize and control the RGB light options that you want, observe the lights glowing from your computer to see that they change.
Step 5: To switch things up, you can customize the display to “pull cycle,” so the display will go through all the different RGBs. You can play around with the light color customization for each PC component to suit your aesthetic goals.
That’s how you change and control your gigabyte motherboard’s RGB lights.
What RGB Software Works With a Gigabyte Motherboard?
RGB Fusion 2.0 is the best RGB software for a Gigabyte motherboard. It is a user interface that works with AMD X670/B650/INTEL Z790 series motherboards and NVIDIA GeForce RTX® 40/30 series graphics cards to synchronize the RGB lights.
On AORUS motherboards, the RGB Fusion offers digital LEDs, allowing you to control onboard and external LED light strips for your PC as they are filled with colors and patterns.
However, it is important to admit that RGB Fusion has been losing traction recently because many gamers claim it is full of bugs.
Some of the problems I have researched that are associated with this RGB software include stuck LED lights, graphics cards not detecting, failure to sync with other devices, overclocked RAM working at low speed, and even apps not opening sometimes.
If you encounter any of these problems while using the RGB Fusion for your gigabyte motherboard, you may want to consider alternative RGB software that works with the Gigabyte motherboard. I would recommend:
- JackNet RGB Sync
- MSI Mystic Light Sync
The JackNet RGB Sync will allow you to control various RGB components from other manufacturers, like Corsair, Asus, Razer, and CoolerMaster. While it will not support all the functions the way the Gigabyte RGB Fusion does, JackNet RGB Sync will control highly popular components.
On the other hand, if you only want to control the RGB lighting of your PC component, then you should consider MSI Mystic Light Sync. The app is not only lightweight but also fast.
Can you use Aura Sync on a Gigabyte motherboard?
It is possible to use the Aura Sync on Gigabyte motherboards to control the RGB on your keyboard, monitor, motherboard, GPU, case lights, and other compatible components.
Although AURA Creator is an advanced lighting-editing application that allows Asus motherboard users to compose their lighting effects and patterns for their ROG machines, the application can also be utilized for other motherboard brands as long as they are compatible.
In reverse, Gigabyte RGB Fusion software will not work with the Asus motherboard since it can’t control the Asus Strix GPU.
What is RGB Fusion Compatible With?
So far, the RGB Fusion is compatible with most gigabyte motherboard models, including the Z390, Z370, X299, X470, and X399 series. Unfortunately, with limited support, the syncing effects are limited.
How To Connect RGB Fans To A Gigabyte Motherboard
The steps in connecting RGB fans to the Gigabyte motherboard depend on whether they are 2-pin or 4-pin RGB fans. Except it is a motherboard without a header, you won’t need any spare tools to connect the RGB fans.
Here are the step-by-step procedures:
Connecting 3-pin RGB fans to a Gigabyte motherboard
Step 1: Disassemble the case according to the manual’s instructions on the packaging, as this will help you locate the RGB mark easily.
Step 2: First, remove the RGB fans along with the mounts, and then connect the two guides of the RGB fan connector with the motherboard’s fan headers.
Step 3: Ensure the connection is secured by pressing it tight enough and then reinserting the RGB fans in the case. After properly packing up, your 3-pin RGB fan is now connected to the motherboard.
Connecting 4-Pin RGB fans to Gigabyte Motherboard
This method will work if you have confirmed that the RGB fan has four holes in the front and four wires in the back. It is only for users with four cables in the connector. Here are the steps:
Step 1: Disassemble the case according to the manual’s instructions on the packaging, as this will help you locate the RGB mark easily through the labeled ports on the manual.
Step 2: Install the 4-pin RGB fan connector into the fan header on the motherboard and then press tightly to ensure a secured connection.
Step 3: Afterward, you can position the RGB fan at the rear side of the case or opt for other customizations, like placing it in front of the lights for visibility.
Step 4: Finally, assemble the case carefully and properly.
Overview
The bottom line is that you need the RGB Fusion software to control the RGB lights on your Gigabyte motherboard. In the above article, we have covered:
- How to control Gigabyte motherboard RGB
- The different gigabyte motherboards compatible with RGB Fusion
- How to change RGB lights on a Gigabyte motherboard
- Other RGB software that works with a Gigabyte motherboard
- as well as how to connect RGB fans to a Gigabyte motherboard.
Remember that if you want to try other RGB control software for your gigabyte motherboard, you must consider its compatibility and which app works best to control the RGB lighting.
Meanwhile, this application has to run all the time for all the lighting effects to run perfectly throughout your device.
Do you have any other doubts about the Gigabyte motherboard RGB control? Feel free to share in the comments.

