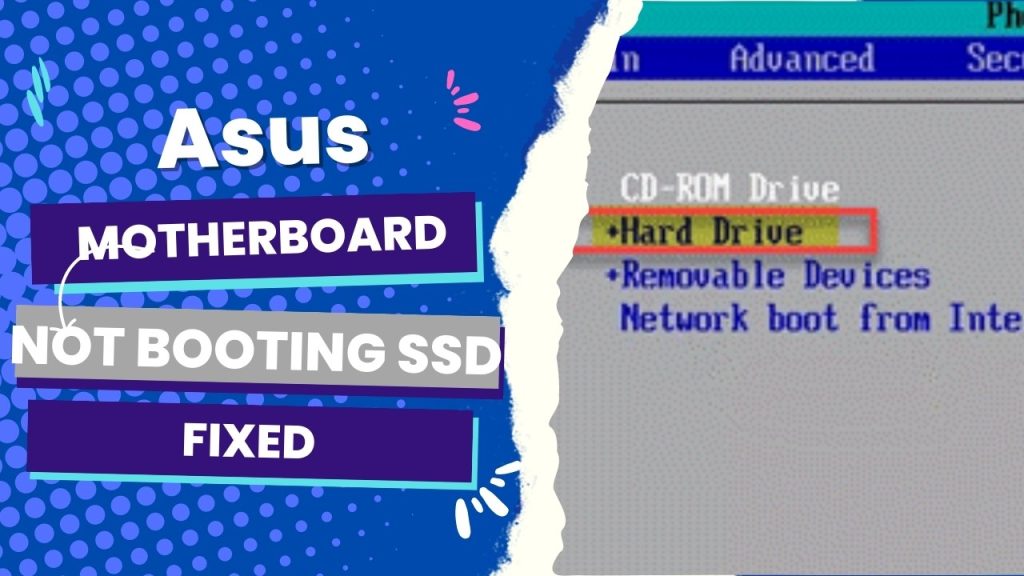
When your Asus motherboard doesn’t recognize SSDs and hard drives as bootable devices, it’s probably because the boot menu has the wrong settings. The common solution is to change a setting in the UEFI/BIOS about the SSD in “Legacy” mode. Then, it will be recognized, and Windows will boot up.
Typically, in the boot menu, you should ensure that the old SSD has the highest priority and that the “old” Windows boot entry is automatically selected. Choose “Windows bootloader manager” from the “OS selection” menu in the boot menu if the condition is not met.
I have had several problems since I got my new ASUS Prime Z690-A motherboard. During my major upgrade, I had three hard drives: two SSDs and one HDD (formatted as MBR drives in my old system), and my new motherboard didn’t recognize them.
After several tweaks, the motherboard eventually saw the drives but could not boot from them. I even tried taking one of the SSDs out and converting it to a GBT drive, but there was no luck until I contacted Asus support,
Here is how I was able to fix the issue:
Solutions for An Asus Motherboard Not Booting Ssd
If your computer can’t detect the hard drive or M.2 after it is turned on, follow the steps below to fix the problem:
Step 1: Check the hard drive settings in BIOS.
First, power on the system and press either the DEL or F2 key to enter the BIOS settings page. The EZ Mode provides a basic system overview of your computer. (If your computer enters advanced mode, you can easily switch from advanced mode to EZ mode by pressing the F7 key.)
Alternatively, for information on the PCIe M.2 device, check the SATA mode M.2 and hard drive at PCH Storage Configuration and NVMe Configuration.
Navigate to the Storage Information to see the hard drive, SSD, or M.2 device currently connected to the system.
Step 2: Update the BIOS to the latest version.
Consider updating your BIOS to the latest version to see if that solves the problem. You can download the latest BIOS file from the Asus official website. The information card also comes with steps on how to update the BIOS.
Step 3: Load the default BIOS
If you have changed any BIOS settings, such as CPU or memory overclocking, the computer may not detect the SSD or hard disk due to overclocking instability. So, I recommend you set your BIOS settings to the default. First, enter BIOS EZ mode, press the F5 key, and then click “OK.”
Step 4: Enable CSM in BIOS settings.
This common fix solves many issues with an Asus motherboard not detecting an SSD or hard disk. As mentioned earlier, CSM is the compatibility support module. You can try to enable CSM to allow both UEFI and non-UEFI devices to show up on boot priority.
First, enter BIOS EZ mode and press F7 to switch to Advanced mode, then click “Boot” and “Launch CSM.”
P.S. If the CSM item is not user-configurable and shows in gray, you must install an add-on graphics card, and the CSM item will appear configurable.
Afterward, set Launch CSM as enabled, press the F10 key, and click “OK.”
Step 5: Check your motherboard’s storage specs
Some Asus motherboards can’t detect the first M.2 slot if you install it with an Intel 10th generation CPU, while some modules share the bandwidth with the second M.2 slot and SATA port 1. So you have to be sure of your motherboard’s storage specs.
Go to the Asus website and search for your motherboard model name. Navigate to the product specification page or user manual and check “Storage.”
As previously stated, compatible installation scenarios will vary depending on the design of the CPU and channel.
Step 6: Confirm the Hardware
Before jumping to conclusions, you should sometimes check the connection of your hardware. While this is often the last resort, it is worth the shot.
Reconnect the SATA and power cables to the SSD (or hard drive, as the case may be). You may be able to fix the issue by simply replacing those cables.
You can also try to connect the SSD to other SATA ports on the motherboard. Meanwhile, I’d suggest you re-install the SSD if it’s an M.2 SSD. Alternatively, try the other slot and make sure the M.2 SSD is firmly secured with the mounting screw.
What if BIOS Recognizes SSD but Won’t Boot?
Another related, yet significant, side of this issue is that your BIOS could recognize an SSD, but it won’t boot the PC from it.
If you’re having trouble booting up your computer even though your BIOS recognizes your SSD, you can try a few things to fix the problem.
- Resetting the BIOS is one of the first things to try. Ensure that the only storage device plugged into your motherboard is your SSD and that it is in the proper port. Enter the BIOS and reset it to default settings if the problem still exists.
- The BIOS boot settings should also be checked. Ensure that the Legacy or UEFI boot options, as well as UEFI are both enabled. To find out how to access these settings, consult the motherboard manual.
- You might have to reinstall Windows 10 on your SSD if the issue persists. Windows 10 can be reset, or a clean installation can be done to accomplish this.
- A third-party backup program can also help you clone your data to your SSD if you’re having trouble moving your files.
- The most recent BIOS update may also be helpful. Use the appropriate BIOS downloaded for your motherboard to flash the BIOS. The instructions in the motherboard manual must be followed because this is a more complex process that could harm your motherboard.
- Finally, you might need to delete any system-reserved partitions that are present on older hard drives. Start Windows and use Disk Management to find and delete the partition. You can try formatting the hard drive if that doesn’t work. The data on the hard drive will be completely erased, so make a backup before doing this.
In conclusion, you can try the various solutions listed above to troubleshoot the problem of the BIOS trying to read the SSD but not booting. This is advised. However, check the motherboard manual for specific troubleshooting instructions for your model. You should be able to set up your computer quickly using these solutions.
In Summary
When your system cannot detect an SSD or hard drive as a bootable device, the issue revolves around settings or configurations you must have gotten wrong. As discussed in the above article, you can fix the problem by checking the hard drive status in the BIOS settings and then updating the BIOS to the latest version.
If none of these options work, load BIOS Default or enable CSM in the BIOS settings. In some rare cases, you may need to check your motherboard’s storage specifications and, as a last resort, ensure there are no issues with the hardware connection.
I hope your Asus motherboard can boot and recognize your hard drive after executing the above steps. If you need further help that we did not touch on in this post, kindly post your questions in the comment section, and I’ll respond as soon as possible.


![Asus Motherboard Keeps Booting Into BIOS [Solutions] 3 Asus Motherboard Keeps Booting Into BIOS](https://bestofmotherboard.com/wp-content/uploads/2022/02/Asus-Motherboard-Keeps-Booting-Into-BIOS.jpg)
![How to Configure Your Asus Motherboard RGB Lighting [Guide] 4 How to Configure Your Asus Motherboard RGB Lighting](https://bestofmotherboard.com/wp-content/uploads/2022/02/How-to-Configure-Your-Asus-Motherboard-RGB-Lighting.jpg)

