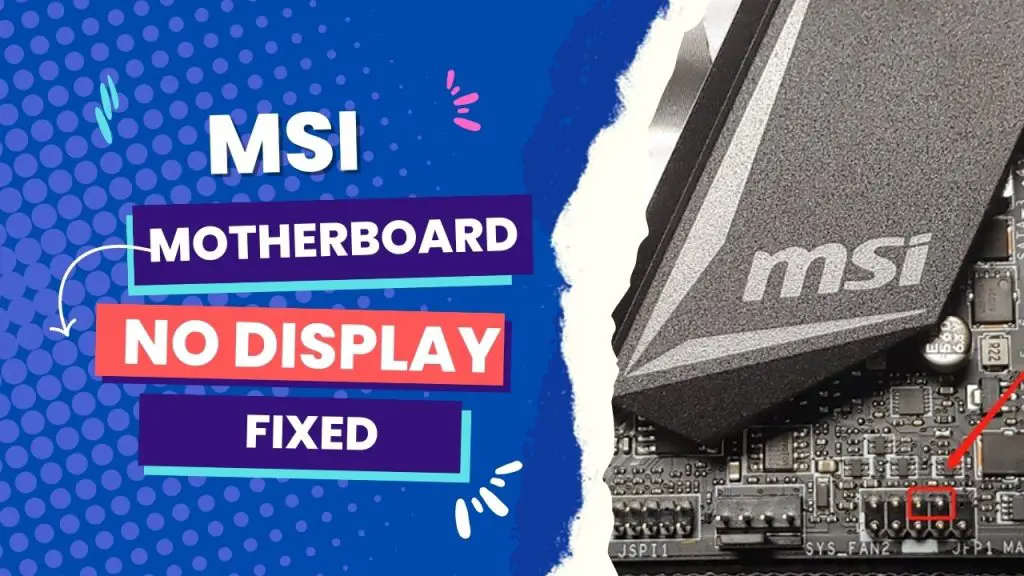
The most common reasons for an MSI motherboard not displaying are problems with the computer’s graphic components. The best approaches to resolving the problem are a CMOS reset, graphics card reseating and checking for bent pins and damaged cables.
However, if you have experience working with motherboards, you will agree that the above solutions for troubleshooting MSI boards are somewhat common knowledge.
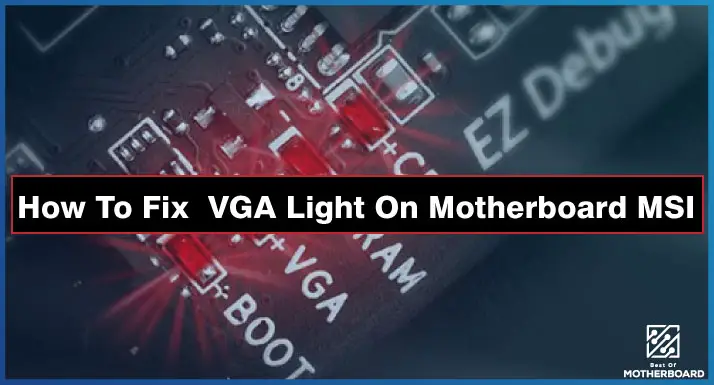
There are rare occasions when you connect everything in your unit and get the VGA red light and the red boot light, but nothing appears on the monitor.
If this situation is similar to your problem, consider resetting the CMOS, cleaning the graphics card inside and out (RAM and storage), or even cleaning the motherboard.
In this article, you will learn about troubleshooting tips that go beyond these general fixes, but they are for exceptional cases where these general fixes do not solve the issue.
So again, consider using the 1-RAM method on every slot, ensuring the pins where you put the CPU are not bent and ensuring the monitor is fine.
6 Instant Fixes for an MSI Motherboard with No Display
No matter the hidden culprit of the problem, trying any of these six fixes should solve the issue. These troubleshooting tips worked for my MSI B560m PRO-VDH at several points when I experienced no display, and they would also work for any other MSI motherboard models.
However, before considering any of these solutions, make sure you have performed the general checks, which include checking for improperly positioned or faulty power cables, among other things.
1. Signal cable checks
This is the first step you can take when confronted with a “no display” error since a faulty signal cable connection is the most common cause of no display.
After all the general checks, the first thing to do is confirm that the signal cable is correctly connected to the monitor. This could be VGA, DVI, HDMI, or DisplayPort.
In addition, check that the other end of the signal cable is connected to the computer’s display output (graphics card).
If everything is in order, consider replugging the display cable’s two tops and checking for bent pins.
2. Put the GPU in the lower PCIe slot.
If your MSI motherboard still doesn’t display after performing all of the general checks listed earlier in this article, consider installing the GPU in the lower PCIe slot.
The lowest slot is connected to the chipset rather than the CPU. In other words, if the motherboard displays, you have a bad CPU.
I once tried this, and the GPU worked in the bottom slot. I had to return the CPU for a replacement.
If your GPU is an older NVIDIA, you may need to update its firmware for the monitor to start displaying. But before you jump the gun, consider all the basic checks first.
3. Is the CPU cooler mounted with excess pressure?
Your MSI motherboard may refuse to display occasionally because the CPU is wrapped in the socket, causing it to lift contact pads off the pins in the socket from the edges of the CPU. This occurs when your CPU cooler is mounted under excessive pressure. Make sure it isn’t.
The golden rule of thumb is that there should be even pressure on all four corners until you feel resistance when tightening, and then take about half a turn more on each corner.
Meanwhile, this wouldn’t be an issue if you used a stock cooler, but tightening the cooler is still possible.
4. Consider breadboarding
In troubleshooting motherboards, breadboarding is when you attempt to boot outside the case of the unit to rule out potential shorts between the board and the case.
To resolve the issue of no display on your MSI board, remove it from the case and install only the CPU, GPU, and one stick of RAM in the board while resting it on its packaging.
The danger about this solution is that you have to be extra careful not to defy the manufacturer’s specifications, especially with handling or positioning the components.
5. Consider a UEFI BIOS update to the newest stable BIOS.
Have you tried updating your UEFI BIOS to the newest stable BIOS? If nothing else works, you might have a CPU problem as your board refuses to display even after booting.
6. Loosed EPS cable from power supply to CPU 8-pin
Confirm that the ESP cable connecting your power supply and CPU 8-pin goes all the way in. There is more to the CPU than the central processing unit, and a loose connection can go to the extent of preventing a display.
When there is a problem with the CPU port of entry connection, you risk problems with the PCIe lane controller, integrated memory controller, cache, northbridge, and other integrations that need to communicate with the MSI board through the CPU socket and its many pins.
As you probably know, each of the pins in the socket is designed to handle a specific purpose, a few of which are only data bus lines for the CPU.
If you try all of the troubleshooting tips in this guide and still have no luck, look at the CPU socket because a problem there could potentially affect everything, including the display.
A loose connection is also why your system fails to discover and recognize the RAM or works only at X8 rather than X16.
Wrapping up
As mentioned earlier, in many cases, problems with the motherboard or display are associated with faulty or improper hardware components in your computer.
Before attempting any fixes in the preceding article, ensure that your motherboard and display are operational. Assume you are still unable to resolve the issue. In that case, I would suggest taking everything apart and taking the motherboard out of the case so you can look for scratches or burn marks on the connectors and parts.
Also, check for any bent pins in the CPU socket, and then consider resetting the CMOS battery.
P.S. Only do this if you are confident in your experience handling internal components. Otherwise, it is best to seek a professional to look at the motherboard.
You can share in the comments which of the fixes shared in the above article eventually worked for you.


![MSI EZ Debug LED - How To Troubleshoot and Fix[Guide] 4 How to Troubleshoot MSI Debug LED](https://bestofmotherboard.com/wp-content/uploads/2022/02/How-to-Troubleshoot-MSI-Debug-LED.jpg)
![What is Game Boost MSI - [Detailed-Guide] 5 What is Game Boost MSI](https://bestofmotherboard.com/wp-content/uploads/2022/02/What-is-Game-Boost-MSI.jpg)
![[Fixed] MSI Motherboard White Light 6 MSI-Motherboard-White-Light](https://bestofmotherboard.com/wp-content/uploads/2022/10/Asus-Motherboard-White-Light.jpeg)